

How to Clean Air Ducts DIY for Healthier Homes
How to Clean Air Ducts DIY for Healthier Homes
Contents
- 1 How to Clean Air Ducts DIY for Healthier Homes
- 1.1 Table of Contents
- 1.2 Quick Summary
- 1.3 Step 1: Gather Essential Tools and Safety Gear
- 1.4 Step 2: Prepare the Area for Dust Containment
- 1.5 Step 3: Access and Inspect Air Duct Openings
- 1.6 Step 4: Vacuum and Brush Away Built-Up Debris
- 1.7 Step 5: Wipe and Sanitize Duct Surfaces and Vents
- 1.8 Step 6: Verify Cleanliness and Restore System
- 1.9 Elevate Your Air Duct Cleaning Beyond DIY for Healthier Indoor Air
- 1.10 Frequently Asked Questions
- 1.10.0.1 What tools do I need to clean air ducts DIY?
- 1.10.0.2 How can I prepare my home for air duct cleaning?
- 1.10.0.3 What steps should I follow to inspect air ducts before cleaning?
- 1.10.0.4 How do I effectively remove dust and debris from air ducts?
- 1.10.0.5 What disinfectants are safe for sanitizing air ducts?
- 1.10.0.6 How can I verify that my air ducts are clean after DIY cleaning?
- 1.11 Recommended
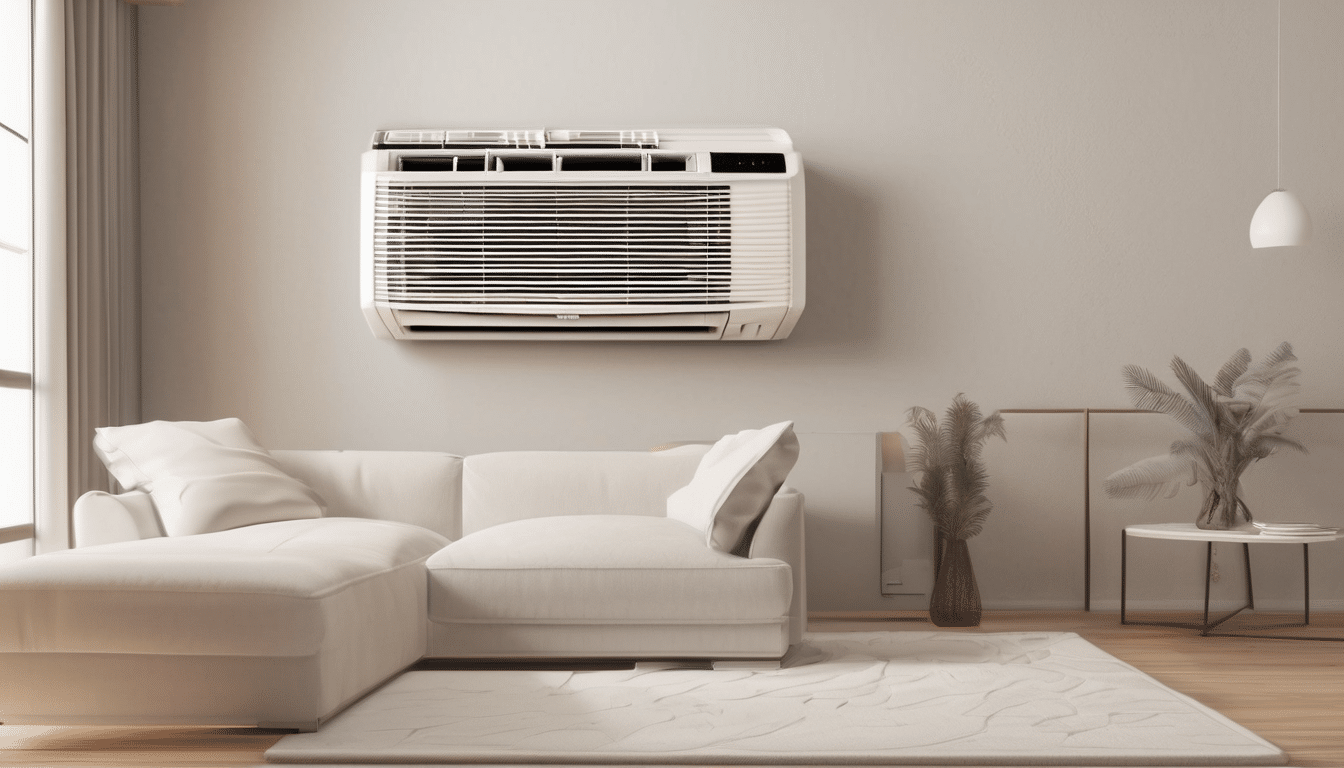
Did you know that indoor air can be up to five times more polluted than outdoor air according to the EPA? Clean air ducts play a huge role in the quality of the air you breathe at home. Dust, mold, and hidden debris in your ducts not only reduce air quality but also strain your HVAC system. Tackling proper air duct cleaning step by step helps protect your health, boosts system efficiency, and gives you peace of mind.
Table of Contents
- Step 1: Gather Essential Tools And Safety Gear
- Step 2: Prepare The Area For Dust Containment
- Step 3: Access And Inspect Air Duct Openings
- Step 4: Vacuum And Brush Away Built-Up Debris
- Step 5: Wipe And Sanitize Duct Surfaces And Vents
- Step 6: Verify Cleanliness And Restore System
Quick Summary
| Key Point | Explanation |
|---|---|
| 1. Use Essential Protective Gear | Wear N95 masks, gloves, goggles, and coveralls to shield yourself from contaminants during air duct cleaning. |
| 2. Ensure Effective Dust Containment | Clear the work area and use plastic sheeting to prevent dust from spreading into other rooms while cleaning. |
| 3. Inspect Ducts Before Cleaning | Check for dust, mold, or pests in ducts to tailor your cleaning approach based on your observations. |
| 4. Employ Systematic Cleaning Techniques | Use a HEPA vacuum and extendable brushes in a methodical manner to remove debris without damaging ducts. |
| 5. Perform Final Verification and Maintenance | After cleaning, inspect ducts again and reassemble the system to ensure optimal performance and air quality. |
|
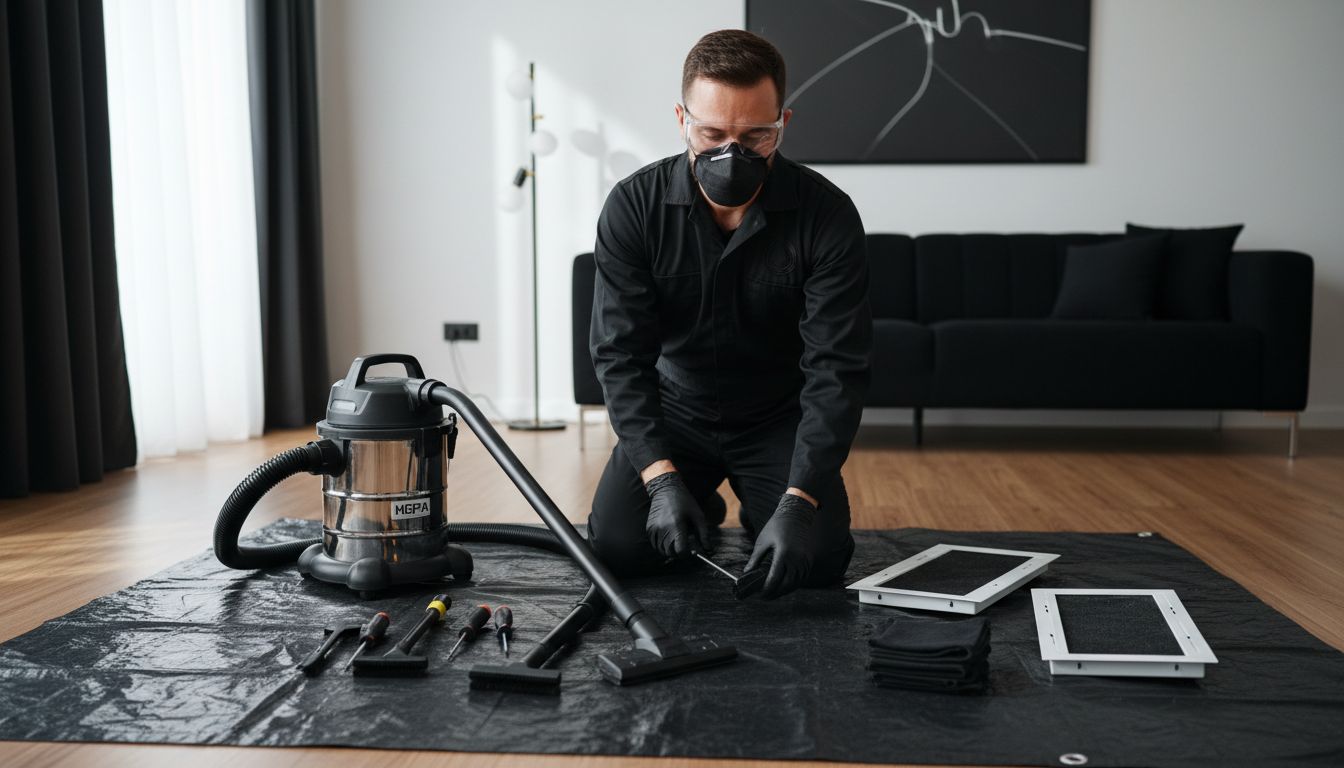
Step 1: Gather Essential Tools and Safety Gear
Before diving into air duct cleaning, you will need specific tools and safety equipment to protect your health and ensure a thorough cleaning process. According to the EPA, proper preparation is key to preventing contamination and maintaining a safe working environment.
Your essential toolkit should include protective gear like disposable respirator masks rated N95 or higher, safety glasses or goggles, disposable gloves, and protective coveralls or old clothing you do not mind getting dirty. These items create a barrier between you and potential airborne contaminants like dust, mold spores, and accumulated debris.
For tools, you will want to collect some specialized equipment such as a high-powered vacuum with a HEPA filter, long flexible brushes with extendable handles, microfiber cloths, screwdrivers for removing vent covers, and a bright flashlight to help you see inside dark duct passages. The American Lung Association recommends using tools that minimize dust dispersal and protect your respiratory system during the cleaning process.
Pro Tip: Always work in a well ventilated area and consider having a second person nearby in case you need assistance.
Before starting, inspect your tools to ensure they are clean and in good working condition. Having everything prepared and organized will make your air duct cleaning more efficient and reduce potential risks to your health.
Here’s a summary of the essential tools and safety gear for air duct cleaning:
| Item Category | Examples | Purpose |
|---|---|---|
| Protective Gear | N95 mask or higher Safety glasses Gloves Coveralls |
Protects from dust, mold, and debris |
| Main Cleaning Tools | HEPA vacuum Flexible brushes Microfiber cloths |
Removes dust and contaminants |
| Utility Tools | Screwdrivers Bright flashlight |
Accesses vents, improves visibility |
Step 2: Prepare the Area for Dust Containment
Preparing your workspace is crucial to prevent dust from spreading throughout your home during air duct cleaning. According to the EPA, strategic dust containment helps minimize indoor air quality disruptions and protects other areas of your living space from potential contamination.
Start by clearing the area around your air vents and registers. Move furniture, area rugs, and any decorative items at least three feet away from your work zone. This creates ample space for movement and reduces the risk of accidental dust transfer to your belongings. As recommended by the EPA, use plastic sheeting to seal air duct registers in the work area. This creates a protective barrier that prevents dust and debris from escaping into other rooms during the cleaning process.
Cover floors and nearby surfaces with drop cloths or plastic tarps. Pay special attention to adjacent rooms or hallways connected to your work area. Use painter’s tape to secure these protective coverings, ensuring they create a tight seal against potential dust migration. The goal is to create a contained workspace that minimizes the spread of airborne particles.
Pro Tip: Consider turning off your HVAC system during the cleaning process to prevent dust from circulating through your home’s ventilation system.
Your careful preparation will help control dust dispersion and protect your home’s indoor environment. With the area properly contained, you are now ready to begin the detailed process of accessing and cleaning your air ducts systematically and safely.
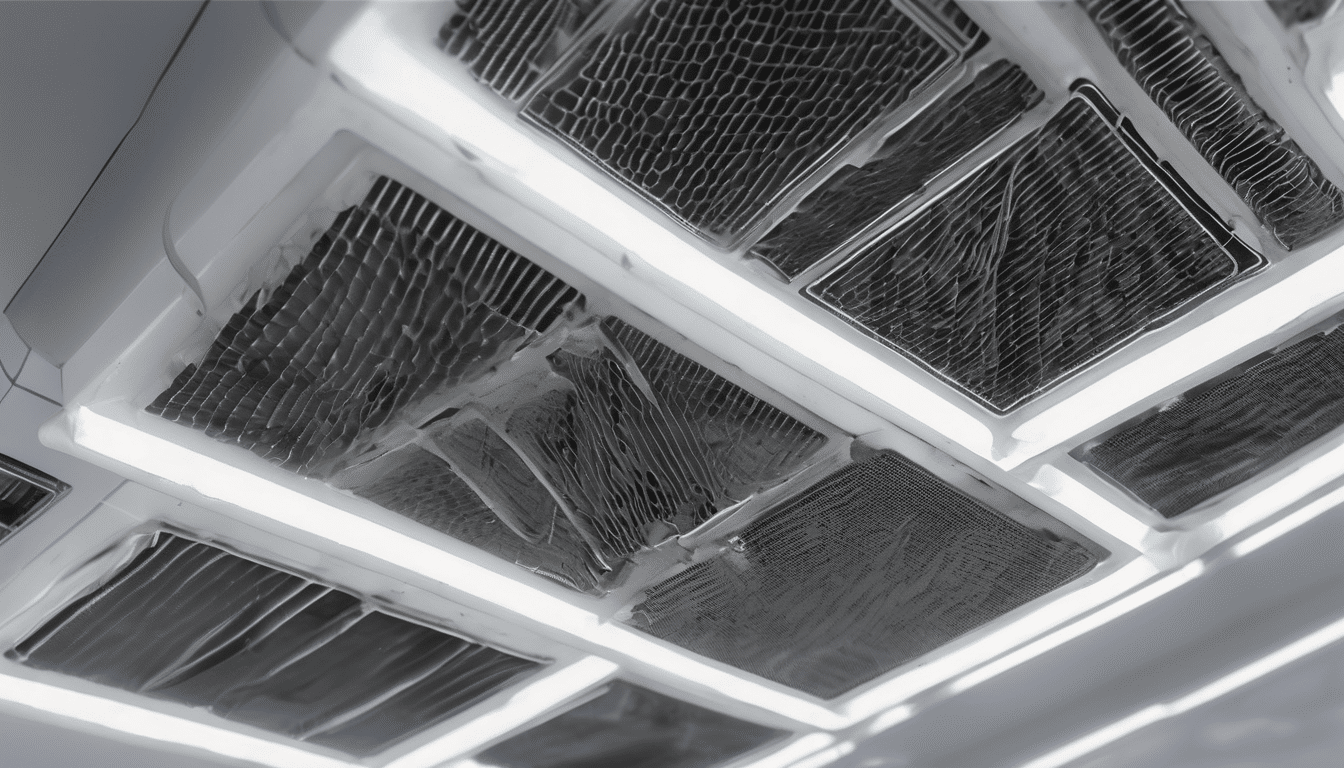
Step 3: Access and Inspect Air Duct Openings
Now that you have prepared your workspace, it is time to carefully access and inspect your air duct system. According to the EPA, a thorough visual inspection is critical to determine the extent of potential contamination and guide your cleaning approach. Check out our insights on AC duct cleaning services to understand what professional inspectors look for.
Locate the main supply and return air registers throughout your home. Using a screwdriver, carefully remove the vent covers. Keep your screws organized in a small container to prevent losing them. Shine your flashlight inside the duct opening, examining the interior walls for signs of significant dust buildup, visible mold growth, or evidence of pest activity. As Ohio State University recommends, pay extra attention if you have recently completed home renovations, as construction debris can accumulate in your ductwork.
Use your smartphone or a compact digital camera to document the condition of your air ducts. Take clear, well-lit photographs that capture the interior surfaces from multiple angles. These images will help you track the cleaning progress and identify areas that require more focused attention. Look for discoloration, moisture stains, or any unusual texture that might indicate potential contamination.
Pro Tip: If you notice extensive mold growth, significant debris, or signs of pest infestation, consider consulting a professional HVAC cleaning service for a comprehensive assessment.
Your careful inspection will provide a clear roadmap for the cleaning process ahead. Understanding the specific condition of your air ducts allows you to approach the next steps with precision and confidence.
Prepare to gather your specialized cleaning tools and begin the detailed process of removing accumulated dust and potential contaminants.
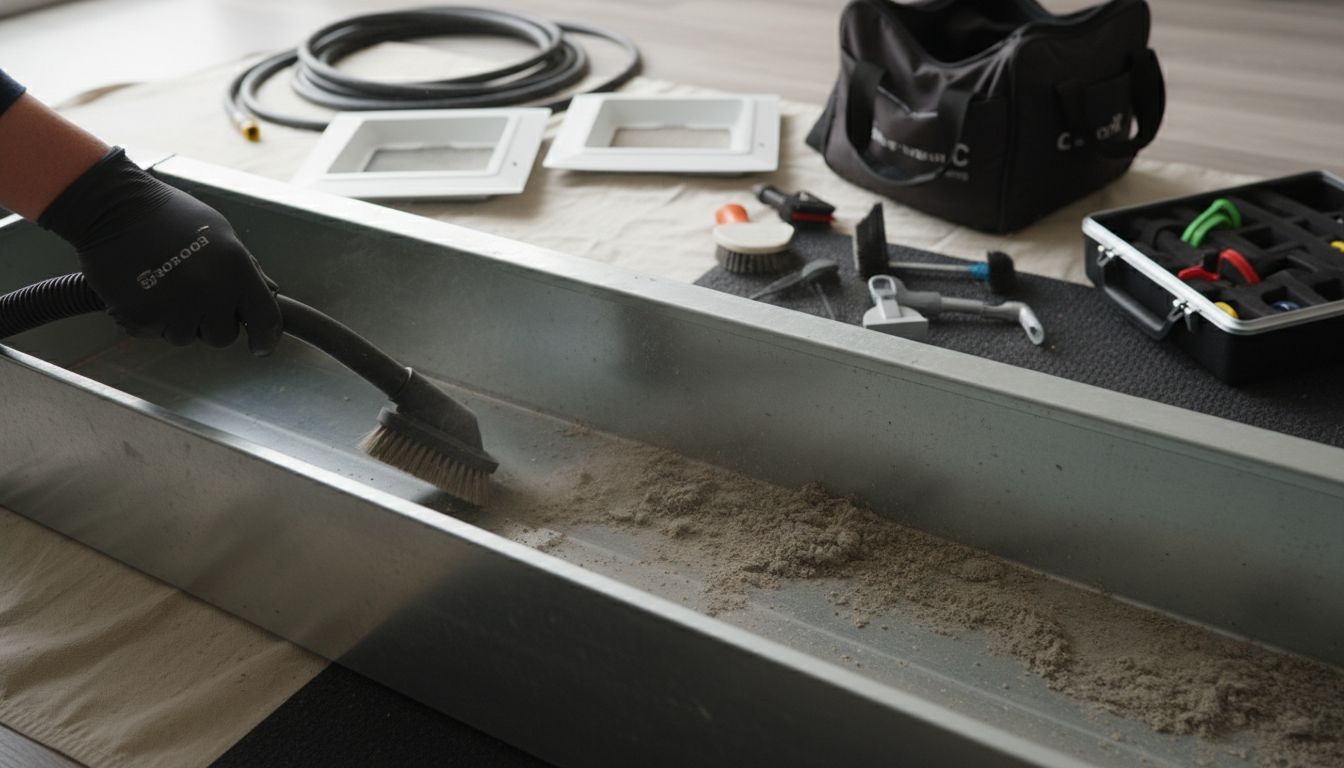
Step 4: Vacuum and Brush Away Built-Up Debris
With your air ducts exposed and inspected, it is time to tackle the accumulated dust and debris. According to the EPA, this stage requires specialized tools and careful technique to effectively remove contaminants without damaging your ductwork. Insights on AC duct cleaning services can provide additional context for professional approaches.
Start by attaching the HEPA filter vacuum with a long flexible hose and narrow nozzle attachment. Carefully insert the nozzle into the duct opening, moving slowly and methodically to extract loose dust and debris. As Diamond Certified recommends, be gentle to avoid damaging the duct interior. Work systematically from one section to another, ensuring you cover all visible surfaces without applying excessive pressure.
Next, use your extendable brush with soft bristles to gently dislodge stubborn dust and debris clinging to the duct walls. Move the brush in consistent sweeping motions, working from the furthest point back towards the opening. The combination of brushing and simultaneous vacuuming ensures you capture particles as they are loosened, preventing them from resettling in the ductwork.
Pro Tip: Work in short segments and frequently empty your vacuum to maintain maximum suction power and prevent dust from redistributing.
Your careful and thorough approach will significantly improve your indoor air quality. The next step involves deeper cleaning and disinfection to ensure a comprehensive air duct maintenance process.
Step 5: Wipe and Sanitize Duct Surfaces and Vents
After removing loose debris, it is time to thoroughly clean and sanitize your air duct surfaces. Insights on AC duct sanitization in Dubai can provide additional context for understanding professional sanitization techniques.
Prepare a solution of mild disinfectant specifically designed for HVAC systems. The EPA cautions that chemical biocides should only be applied when absolutely necessary and strictly according to manufacturer instructions. Use microfiber cloths to gently wipe down the interior duct surfaces, working carefully to avoid scratching or damaging the ductwork. Pay special attention to areas with visible dust residue or slight discoloration.
For vent covers, remove them completely and wash with warm soapy water. Dry thoroughly before reinstalling to prevent moisture buildup. Use a separate microfiber cloth with your disinfectant solution to clean the vent surrounds and the visible edges of the duct openings. This prevents recontamination and ensures a comprehensive cleaning approach.
Pro Tip: Wear protective gloves and a mask during the sanitization process to minimize exposure to dust and cleaning chemicals.
Your meticulous sanitization will help reduce potential microbial growth and improve overall air quality. The final steps will involve reassembling your system and performing a final inspection to ensure everything is clean and properly functioning.
Step 6: Verify Cleanliness and Restore System
With the cleaning process complete, your final task is to thoroughly verify the cleanliness of your air ducts and restore your HVAC system to full operational status. Insights on professional AC duct cleaning solutions can help you understand what a comprehensive system restoration looks like.
Carefully reinspect each duct section using your flashlight, checking for any remaining debris or missed spots. Take additional photographs to compare with your initial inspection images. According to the EPA, it is crucial to confirm the actual condition of your ductwork and ensure all contamination has been effectively removed. Pay close attention to corners, seams, and areas that were previously hard to reach during the initial cleaning process.
Reinstall all vent covers securely, ensuring they are completely dry and free from moisture. Reconnect your HVAC system and run it for several minutes with a clean air filter. Listen for any unusual sounds and observe the airflow from different registers. The EPA recommends establishing a preventive maintenance program that includes regular system inspections and proactive steps to prevent future moisture contamination.
Pro Tip: Consider scheduling a professional assessment annually to maintain optimal air duct hygiene and system performance.
Your systematic approach to cleaning and verification demonstrates a commitment to maintaining a healthy indoor environment. By completing these steps, you have significantly improved your home’s air quality and overall HVAC system efficiency.
Elevate Your Air Duct Cleaning Beyond DIY for Healthier Indoor Air
If you have tackled the challenges of DIY air duct cleaning yourself, you understand how critical proper tools, safety gear, and thorough sanitization are to truly improving your home’s air quality. Dust buildup, hidden mold, and persistent allergens can remain even after careful vacuuming and wiping. This is where expert care matters. Saniservice brings scientific precision and proven technology to the cleaning process, guaranteeing deeper removal of contaminants and lasting freshness.
Experience the difference with Saniservice, Dubai’s trusted leader in professional air conditioning cleaning. Our NADCA-certified technicians go beyond surface cleaning by dismantling, deep-cleaning, and disinfecting every AC component with hospital-grade, chemical-free biosanitisers. Don’t settle for temporary fixes when your indoor health and comfort are on the line. Visit our AC Cleaning & Maintenance – Saniservice AC Cleaning page to explore our services and take the next step toward cleaner air. Ready for smarter, science-backed cleaning solutions established by a team of microbiologists and HVAC experts? Learn more about our approach anytime at Saniservice. Your home deserves the highest standard of care.
Frequently Asked Questions
What tools do I need to clean air ducts DIY?
To clean air ducts yourself, gather essential tools including a HEPA vacuum, flexible brushes, microfiber cloths, and safety gear like N95 masks and gloves. Start by ensuring all tools are clean and ready for use to avoid contamination.
How can I prepare my home for air duct cleaning?
Clear away furniture and items from around your air vents and use plastic sheeting to seal the registers. This helps contain dust and debris, minimizing mess during the cleaning process.
What steps should I follow to inspect air ducts before cleaning?
Begin by removing the vent covers with a screwdriver and use a flashlight to inspect the interior for dust, mold, or pests. Document the condition with photos to keep track of any issues and improve your cleaning strategy.
How do I effectively remove dust and debris from air ducts?
Use a HEPA vacuum with a narrow nozzle to gently extract dust, followed by brushing with a flexible brush to dislodge stubborn particles. Work in sections and empty the vacuum frequently to maintain suction power.
What disinfectants are safe for sanitizing air ducts?
Prepare a mild disinfectant solution specifically designed for HVAC systems to wipe down duct surfaces. Make sure to follow the manufacturer’s instructions and wear protective gloves and a mask during the process.
How can I verify that my air ducts are clean after DIY cleaning?
Reinspect each duct section using a flashlight, comparing it to your initial inspection photos. Ensure all visible debris is removed, then securely reinstall vent covers and run your HVAC system to check for effective airflow.
Recommended
- 9 Critical Health Risks of Dirty AC Ducts Abu Dhabi and How to Clean Them Effectively – Saniservice AC Cleaning
- Professional Air Duct Cleaning in Dubai for Villas
- 5 Essential Insights on AC Duct Sanitization Dubai: Ensuring Cleaner, Safer Air in Your Home – Saniservice AC Cleaning
- 9 Kickass Benefits of AC Duct Cleaning Abu Dhabi for Your Home
- A clean home can improve your health and well-being!