

Air Conditioner Cleaning Guide for Healthier Indoor Air
Luxury villa living in Dubai demands fresh air and flawless comfort, yet even the most advanced air conditioner cleaning guide systems lose efficiency and invite indoor pollutants if neglected. Choosing eco-friendly cleaning solutions designed for HVAC systems protects your family and preserves your investment while avoiding harsh chemicals that contaminate indoor air. This guide delivers practical steps for selecting safe supplies, disconnecting power properly, and achieving meticulous AC cleaning that supports a healthier, more sustainable home.
Table of Contents
Contents
- 1 Table of Contents
- 2 Quick Summary
- 3 Step 1: Prepare and Gather Eco-Friendly Cleaning Supplies
- 4 Step 2: Disconnect Power and Safely Access AC Components
- 5 Step 3: Remove and Clean Filters and Drain Trays
- 6 Step 4: Deep Clean Coils, Blowers, and Internal Parts
- 7 Step 5: Disinfect All Components With Chemical-Free Solutions
- 8 Step 6: Reassemble, Test, and Verify System Performance
- 9 Achieve Truly Healthy Indoor Air with Expert AC Cleaning
- 10 Frequently Asked Questions
- 10.0.1 How do I prepare for cleaning my air conditioner?
- 10.0.2 What steps should I take to safely access my air conditioning system’s components?
- 10.0.3 How do I effectively clean the air conditioner filters and drain trays?
- 10.0.4 What is the best way to disinfect my air conditioning system without chemicals?
- 10.0.5 How can I verify that my air conditioning system is functioning properly after cleaning?
- 10.0.6 What should I document during the air conditioner cleaning process?
- 11 Recommended
- Step 1: Prepare and Gather Eco-Friendly Cleaning Supplies
- Step 2: Disconnect Power and Safely Access AC Components
- Step 3: Remove and Clean Filters and Drain Trays
- Step 4: Deep Clean Coils, Blowers, and Internal Parts
- Step 5: Disinfect All Components With Chemical-Free Solutions
- Step 6: Reassemble, Test, and Verify System Performance
Quick Summary
| Important Insight | Clarification |
|---|---|
| 1. Use Eco-Friendly Cleaning Supplies | Choose biodegradable and plant-based products to clean your AC without harming indoor air quality. |
| 2. Disconnect Power for Safety | Always shut off the electricity to your AC unit before starting maintenance to prevent shocks or accidents. |
| 3. Clean Filters and Drain Trays Regularly | Regularly remove and clean AC filters and drain trays to prevent microbial growth and maintain system efficiency. |
| 4. Conduct a Deep Clean of Internal Parts | Use suitable eco-friendly cleaners for coils and internal parts to enhance system performance and air quality. |
| 5. Document Maintenance Activities | Keep a detailed log of each maintenance step and system performance to assist with future upkeep and troubleshooting. |
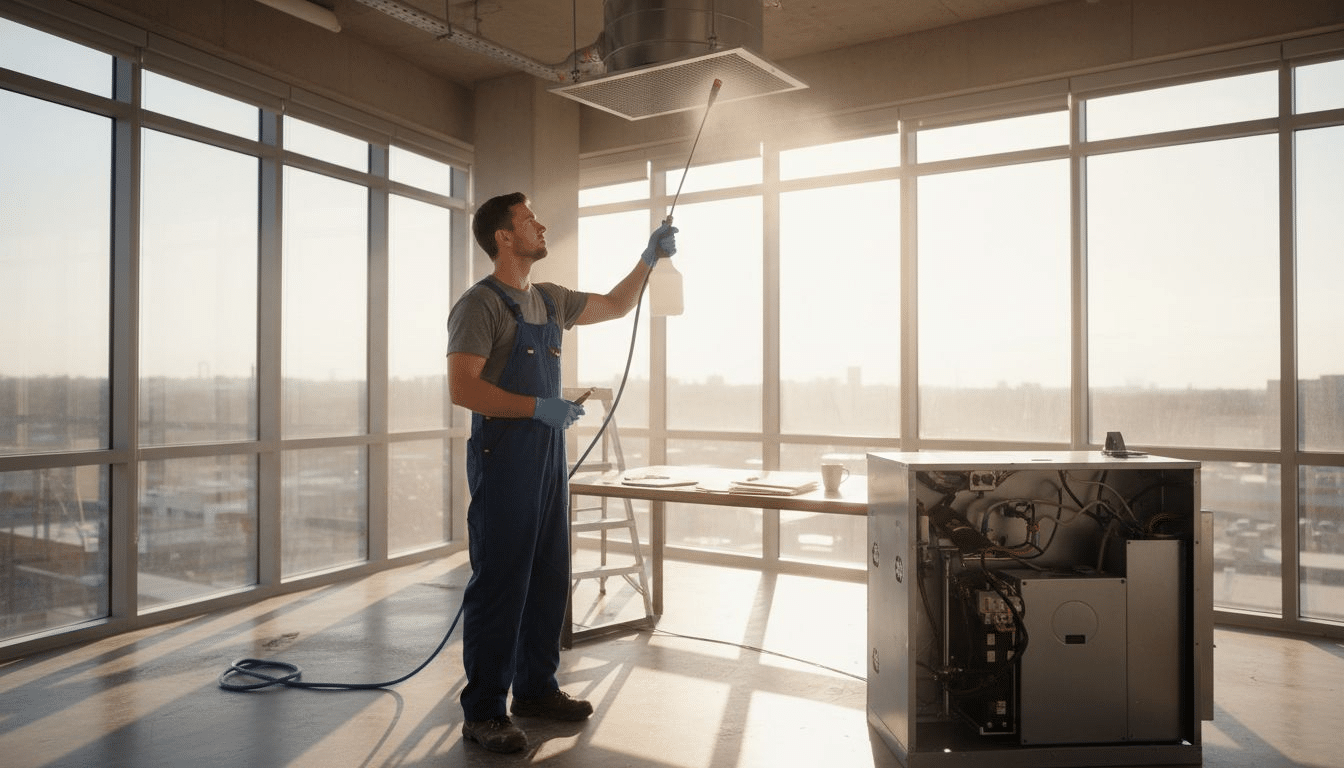
Step 1: Prepare and Gather Eco-Friendly Cleaning Supplies
Preparing the right cleaning supplies is critical for safely sanitizing your air conditioning system while protecting indoor air quality. The goal is to select products that effectively clean your AC without introducing harmful chemicals or environmental toxins with air conditioner cleaning guide.
Start by gathering eco-friendly cleaning alternatives that eliminate microbial buildup without compromising health. Look for plant-based, biodegradable solutions specifically designed for HVAC systems. Recommended items include microfiber cloths, white vinegar, hydrogen peroxide, soft brushes with non-abrasive bristles, compressed air dusters, and protective gloves. Avoid harsh chemical cleaners containing volatile organic compounds which can contaminate indoor air and potentially damage sensitive AC components.
When selecting cleaning agents, prioritize transparency in ingredient lists and choose products free from chlorine, ammonia, phosphates, and synthetic fragrances. Natural enzymatic cleaners work particularly well for breaking down organic matter in air conditioning systems without introducing toxic residues.
Pro Tip: Invest in a high-quality HEPA filter mask to protect yourself from dust and potential microbial particles during the cleaning process.
Here’s a quick reference comparing eco-friendly cleaning ingredients commonly used for AC maintenance:
| Ingredient | Main Benefit | Typical Use Case |
|---|---|---|
| White Vinegar | Natural disinfectant | Removes mold from trays |
| Hydrogen Peroxide | Kills bacteria and viruses | Disinfects coils and surfaces |
| Microfiber Cloth | Lint-free cleaning | Traps dust and debris |
| Enzymatic Cleaner | Breaks down organic matter | Cleans coil surfaces thoroughly |
Step 2: Disconnect Power and Safely Access AC Components
Before beginning any maintenance work on your air conditioning system, disconnecting power is a critical safety step that protects you from potential electrical hazards. Your primary objective is to completely isolate the electrical supply to prevent accidental activation during cleaning or component inspection.
Start by locating your home’s main electrical panel and identifying the circuit breaker or fuse associated with your air conditioning unit. Follow lockout tagout procedures to ensure absolute electrical safety. Switch off the corresponding circuit breaker completely and place a visible warning tag indicating maintenance is in progress. For additional protection, use a lockout device that physically prevents the breaker from being accidentally switched back on while you are working.
Once power is disconnected, carefully remove the external AC unit covers or access panels. Use appropriate screwdrivers and keep screws organized in a magnetic tray to prevent loss. Inspect the area for any visible damage, loose connections, or signs of wear before proceeding with detailed cleaning. Wear protective gloves and safety glasses throughout the process to shield yourself from potential debris or sharp edges.
Pro Tip: Take a smartphone photo of the circuit breaker configuration before disconnecting to ensure correct reinstallation during reassembly.
Step 3: Remove and Clean Filters and Drain Trays
Filters and drain trays are critical components in maintaining your air conditioning system’s performance and indoor air quality. Your goal is to carefully remove, inspect, and thoroughly clean these essential parts to prevent microbial growth and ensure optimal system functionality.
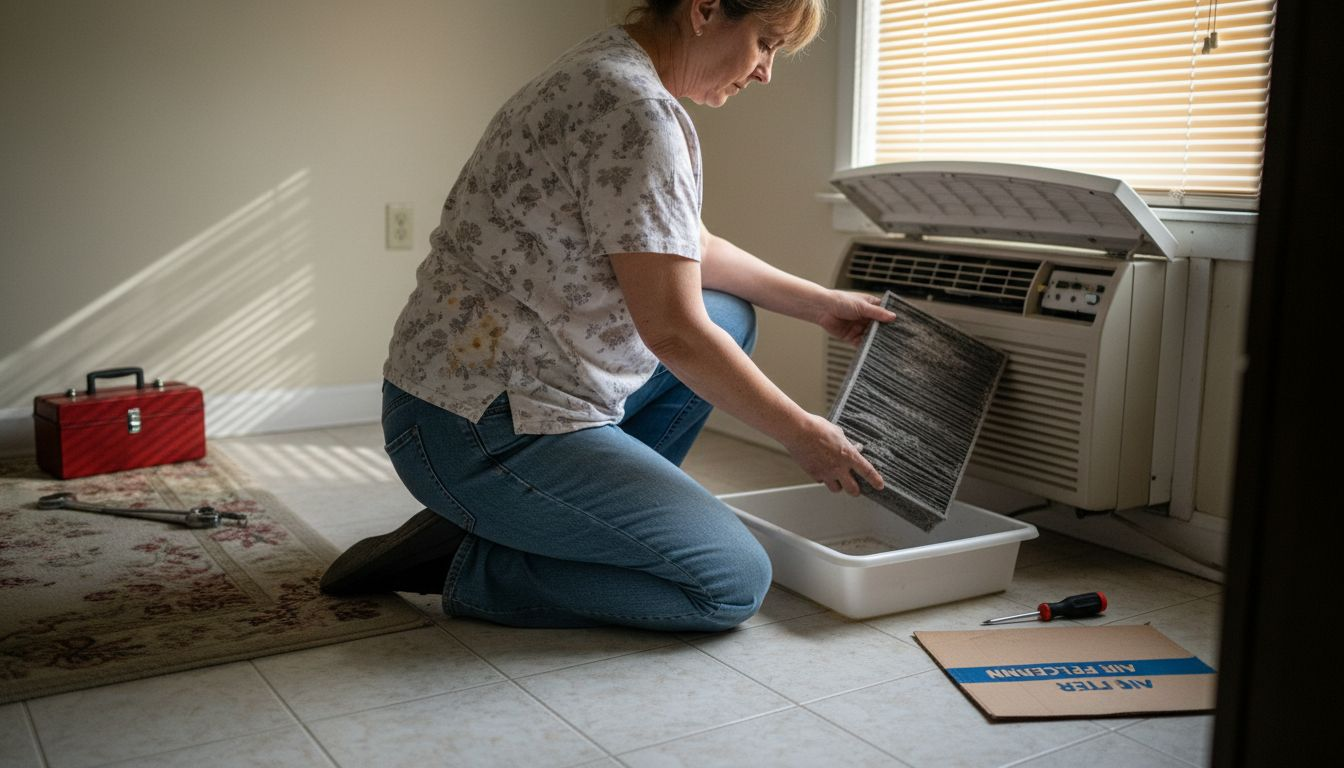
Begin by carefully removing air filters from their housing. Most residential AC units have filters located in the return air duct or directly inside the air handler. Wear disposable gloves and inspect the filter for excessive dust, debris, or signs of moisture that could indicate potential mold development. For reusable filters, prepare a cleaning solution using mild detergent and warm water. Gently rinse the filter, avoiding aggressive scrubbing that might damage the delicate filtration material. For disposable filters, simply replace them with new ones matching the exact specifications of your AC system.
Next, focus on drain trays which collect condensation from your air conditioning unit. Remove the tray carefully and clean it thoroughly using a mixture of white vinegar and water to eliminate potential bacterial or fungal growth. Pay close attention to any visible buildup or discoloration, which could signal developing biofilm. Ensure the drainage channels remain clear and unobstructed to prevent water backup and potential system damage.
Pro Tip: Always document the filter size and model number before removal to ensure you purchase the correct replacement during future maintenance.
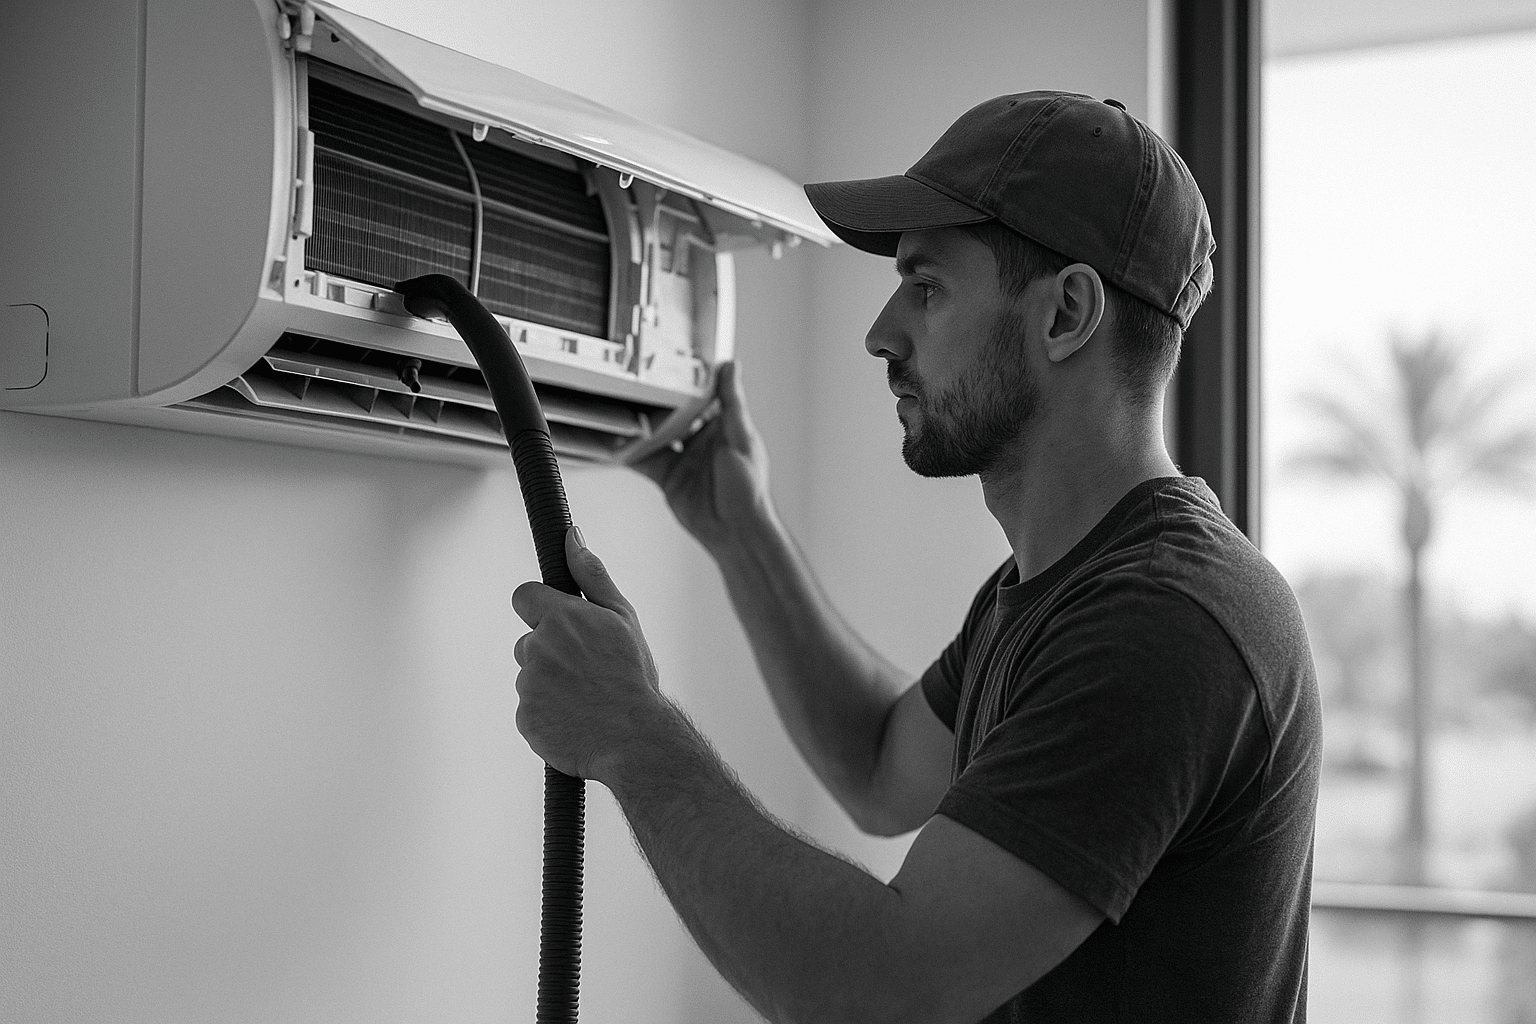
Step 4: Deep Clean Coils, Blowers, and Internal Parts
Deep cleaning the internal components of your air conditioning system is crucial for maintaining optimal performance and ensuring healthier indoor air quality. This step requires careful attention to detail and the right approach to effectively remove accumulated dirt, dust, and potential microbial growth.
Begin by preparing eco-friendly cleaning solutions for your AC coils and internal parts. Focus first on the evaporator and condenser coils, which are primary collectors of dust and debris. Use a soft bristle brush and a specialized coil cleaner or a mixture of mild detergent and warm water to gently remove accumulated grime. Work methodically across the coil surface, taking care not to bend or damage the delicate fins. For blower components, use compressed air to blow out dust from fan blades and housing, followed by a gentle wipe down with a microfiber cloth dampened with an antibacterial solution.
Pay special attention to hard to reach areas inside the AC unit, such as internal drainage channels and tight corners where moisture can accumulate. Use a combination of soft brushes, microfiber cloths, and compressed air to thoroughly clean these spaces. Ensure all internal components are completely dry before reassembling to prevent potential mold or bacterial growth. Take photographs of the disassembly process to help with correct reassembly and reference any complex configurations.
Pro Tip: Wear protective eyewear and a dust mask during internal cleaning to prevent respiratory irritation from dislodged particles.
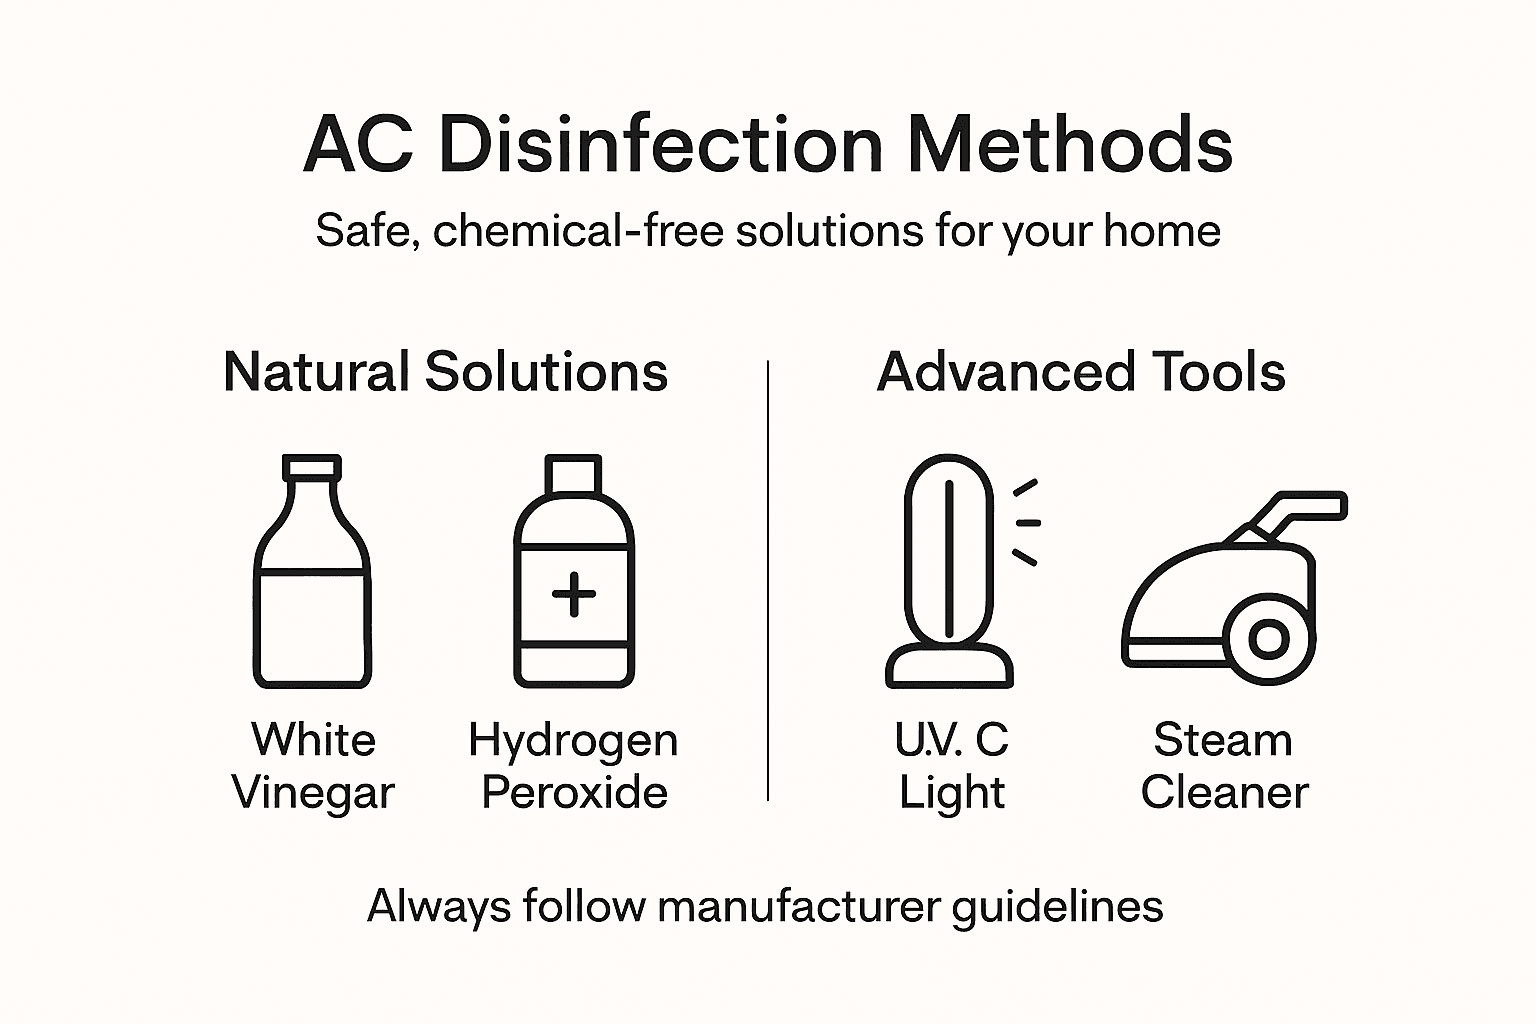
Step 5: Disinfect All Components With Chemical-Free Solutions
Disinfecting your air conditioning system requires a strategic approach that eliminates microbial growth without introducing harmful chemical residues. The goal is to create a sanitized environment that supports healthier indoor air quality while preserving the integrity of your AC components.
Chemical-free disinfection techniques offer powerful alternatives to traditional cleaning methods. Consider using UV-C light technology, which effectively inactivates bacteria, viruses, and mold spores without leaving behind toxic residues. Hydrogen peroxide and white vinegar solutions provide additional natural disinfection options that break down microorganisms while remaining environmentally friendly. Concentrate on thoroughly treating surface areas like coils, drainage channels, and internal compartments where microbial growth typically occurs. Use microfiber cloths dampened with these solutions to gently wipe down components, ensuring complete coverage without oversaturating sensitive electrical parts.
Pay special attention to areas prone to moisture accumulation, such as drain pans and condensate lines. These regions are particularly susceptible to bacterial and fungal development. Implement a systematic approach by working from the cleanest areas to potentially contaminated zones, using separate cloths to prevent cross contamination. Allow all components to air dry completely before reassembling to prevent trapped moisture that could encourage microbial regrowth.
Pro Tip: Create a dedicated disinfection kit with microfiber cloths, UV-C light device, and natural disinfection solutions to streamline your AC maintenance process.
Below is a summary of common chemical-free disinfection methods and how they work:
| Method | How It Works | Key Advantages |
|---|---|---|
| UV-C Light | Disrupts DNA of microbes | No residues, highly effective |
| Hydrogen Peroxide Solution | Oxidizes cell walls | Environmentally friendly option |
| White Vinegar Solution | Acidic pH kills bacteria | Readily available and safe |
Step 6: Reassemble, Test, and Verify System Performance
Reassembling your air conditioning system requires methodical precision to ensure all components are correctly positioned and functioning optimally. This final stage transforms your thorough cleaning efforts into a fully restored and efficiently operating cooling system.
Begin by carefully returning each cleaned component to its original position, referencing any photographs you took during disassembly. Verify system performance metrics by first powering on the system and checking for smooth, consistent airflow. Listen for unusual sounds and monitor temperature output to confirm proper functionality. Pay special attention to airflow from different vents, ensuring consistent and balanced cooling across your space. Check that all panels are securely fastened and that no loose components are creating vibration or potential operational issues.
Conduct a comprehensive performance assessment by running the system through a full cooling cycle. Observe the system’s startup, steady operation, and shutdown phases. Monitor electrical connections, assess temperature differentials, and verify that the system maintains desired temperature settings without excessive cycling. Temperature variations or unusual operational sounds could indicate that certain components were not reinstalled correctly or that additional maintenance might be required.
Pro Tip: Keep a detailed maintenance log documenting each cleaning step, components checked, and system performance observations for future reference and proactive maintenance planning.
Achieve Truly Healthy Indoor Air with Expert AC Cleaning
Keeping your air conditioner clean is essential to prevent harmful microbial buildup and maintain fresh indoor air quality. If you found the step-by-step guide helpful but worry about handling delicate components or using eco-friendly and chemical-free disinfection methods properly Saniservice brings you trusted professional solutions. Our NADCA-certified technicians combine scientific precision with Swiss-quality service to deeply clean, dismantle, and disinfect every AC component including coils, blowers, and drainage trays with hospital-grade biosanitisers that eliminate mold bacteria and allergens safely.
Discover how our proven, sustainable approach enhances your system’s efficiency extends its lifespan and protects your health. Don’t wait until performance drops or irritants affect your comfort. Visit our AC Cleaning & Maintenance – Saniservice AC Cleaning page to learn more about our process and explore real client results in our Case Studies – Saniservice AC Cleaning. Ready for cleaner healthier air contact Saniservice today at https://saniacservice.com and take the first step to a safer indoor environment.
Frequently Asked Questions
How do I prepare for cleaning my air conditioner?
To prepare for cleaning your air conditioner, gather eco-friendly cleaning supplies such as white vinegar, hydrogen peroxide, microfiber cloths, and soft brushes. Start by ensuring you have these items ready before disconnecting the power to the unit.
What steps should I take to safely access my air conditioning system’s components?
Before accessing components, disconnect the electrical supply by turning off the circuit breaker linked to your air conditioner. Then, remove the external covers carefully using appropriate tools, keeping all screws organized for reassembly.
How do I effectively clean the air conditioner filters and drain trays?
To clean the filters, carefully remove them and rinse reusable ones with a mild detergent solution while replacing disposable filters as needed. For drain trays, mix white vinegar and water to thoroughly clean and eliminate any bacterial growth.
What is the best way to disinfect my air conditioning system without chemicals?
You can disinfect your air conditioning system using methods like UV-C light or solutions of hydrogen peroxide and white vinegar. Gently wipe down the coils and internal surfaces with these solutions to ensure a safe and chemical-free disinfection.
How can I verify that my air conditioning system is functioning properly after cleaning?
After reassembling your air conditioning system, power it on and check for smooth airflow and consistent temperature output. Monitor the system through a complete cooling cycle, listening for unusual sounds and ensuring all components are securely fastened.
What should I document during the air conditioner cleaning process?
Document each maintenance step, including components checked and any system performance observations, in a maintenance log. Keeping detailed records will help you plan for future maintenance and identify any specific needs for your unit.