

Step by Step AC Cleaning Guide for Healthier Indoor Air
Over 80 percent of american households rely on air conditioning for comfort during hot months, yet most overlook regular deep cleaning. Neglected systems can circulate dust, allergens, and even mold, putting your family’s health at risk. Taking a detailed, step by step approach to AC maintenance not only improves air quality but also extends the life of your investment. This guide will help you handle your AC cleaning like a professional, ensuring a safer and cleaner indoor environment.
Table of Contents
Contents
- 1 Table of Contents
- 2 Quick Summary
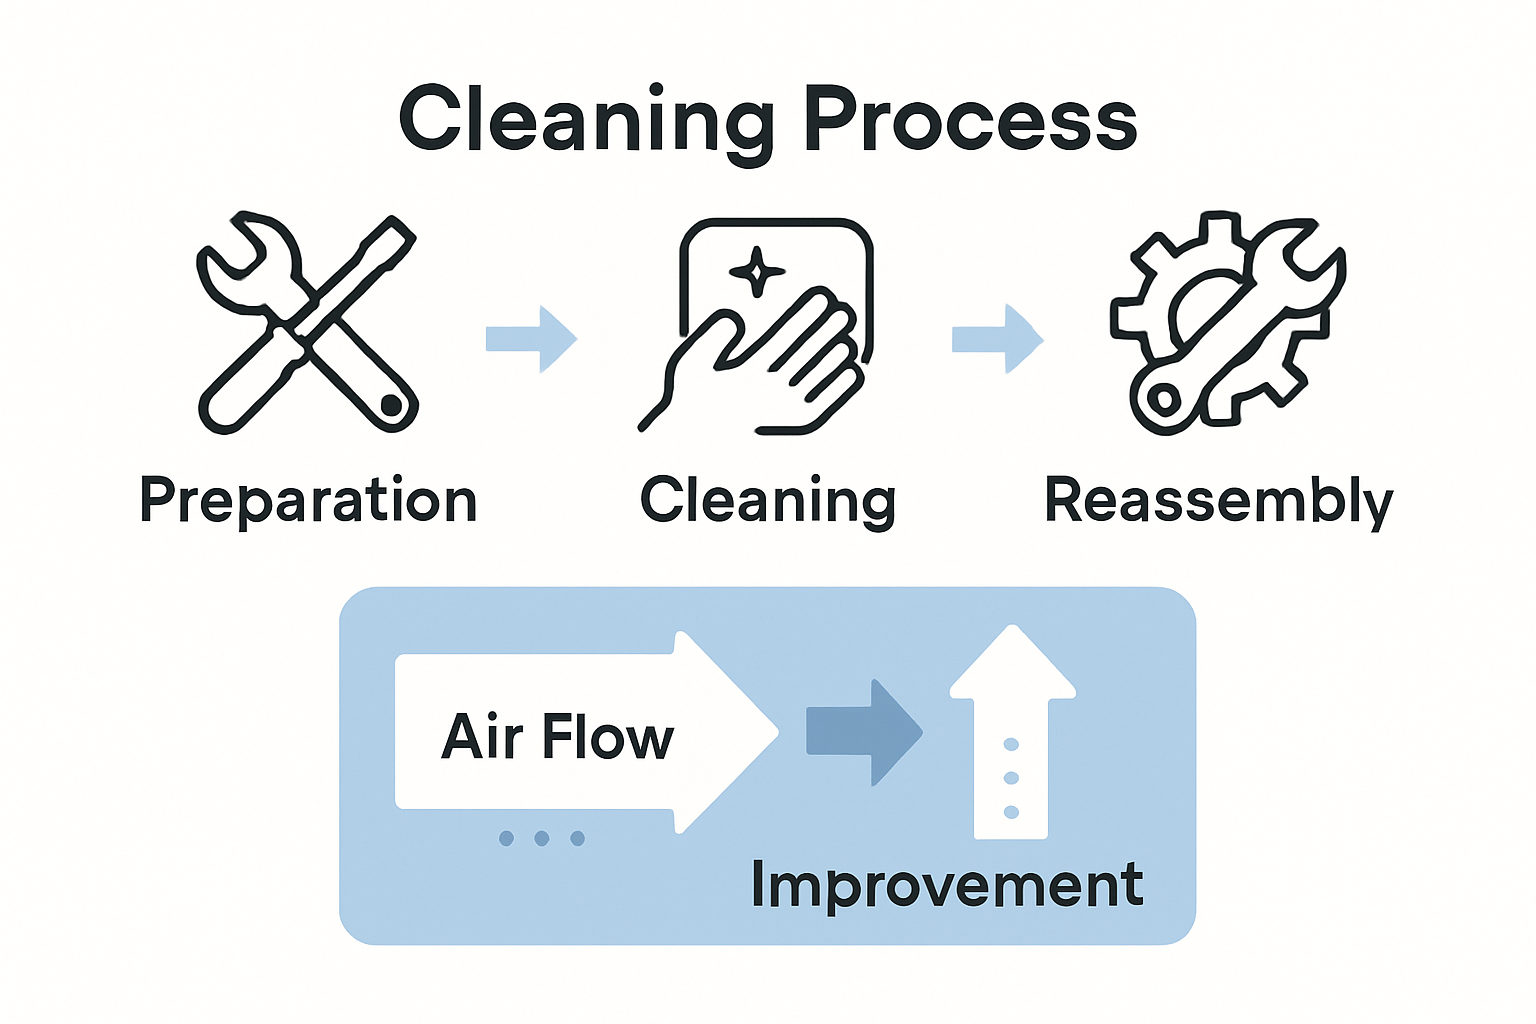
- 3 Step 1: Prepare Your Space and AC Unit
- 4 Step 2: Dismantle and Inspect Key AC Components
- 5 Step 3: Deep Clean Coils, Filters, and Blower
- 6 Step 4: Disinfect Internal Surfaces and Ducts
- 7 Step 5: Reassemble Unit and Check Performance
- 8 Ensure Healthier Indoor Air with Expert AC Cleaning from Saniservice
- 9 Frequently Asked Questions
- 9.0.1 How can I prepare my space before cleaning my AC unit?
- 9.0.2 What should I inspect when dismantling my AC unit?
- 9.0.3 How do I deep clean the coils and filters of my AC unit?
- 9.0.4 What steps should I take to disinfect the internal surfaces of my AC system?
- 9.0.5 How can I check my AC unit’s performance after reassembly?
- 9.0.6 How often should I clean my AC unit for optimal indoor air quality?
- 10 Recommended
- Step 1: Prepare Your Space and AC Unit
- Step 2: Dismantle and Inspect Key AC Components
- Step 3: Deep Clean Coils, Filters, and Blower
- Step 4: Disinfect Internal Surfaces and Ducts
- Step 5: Reassemble Unit and Check Performance
Quick Summary
| Key Insight | Explanation |
|---|---|
| 1. Clear workspace for safety | Remove objects near the AC unit to create a safe and organized working area, reducing contamination risk during cleaning. |
| 2. Use protective gear while cleaning | Wear gloves, a dust mask, and safety glasses to protect against allergens and debris during AC maintenance. |
| 3. Regularly inspect key components | Check air filters and internal parts for dirt, wear, or microbial growth to maintain air quality and system performance. |
| 4. Deep clean critical AC components | Clean air filters, coils, and the blower to enhance functionality and prevent the buildup of harmful contaminants. |
| 5. Properly disinfect surfaces and ducts | Use safe disinfectants to eliminate hidden germs in the AC system, helping to ensure healthier indoor air quality. |
Step 1: Prepare Your Space and AC Unit
Preparing your space and AC unit requires strategic planning to ensure thorough cleaning while protecting your indoor environment. Minimizing exposure to potential contaminants begins with creating a clean and organized workspace that supports comprehensive AC maintenance.
Start by clearing the area around your air conditioning system completely. Remove furniture, decorative items, and any objects within a 3-foot radius to provide ample working space. Cover nearby electronics and sensitive surfaces with plastic sheeting to protect them from dust and cleaning solutions. Ensure you have proper ventilation by opening windows or using fans to create airflow. Preparing the workspace strategically helps prevent cross-contamination and supports a more effective cleaning process.
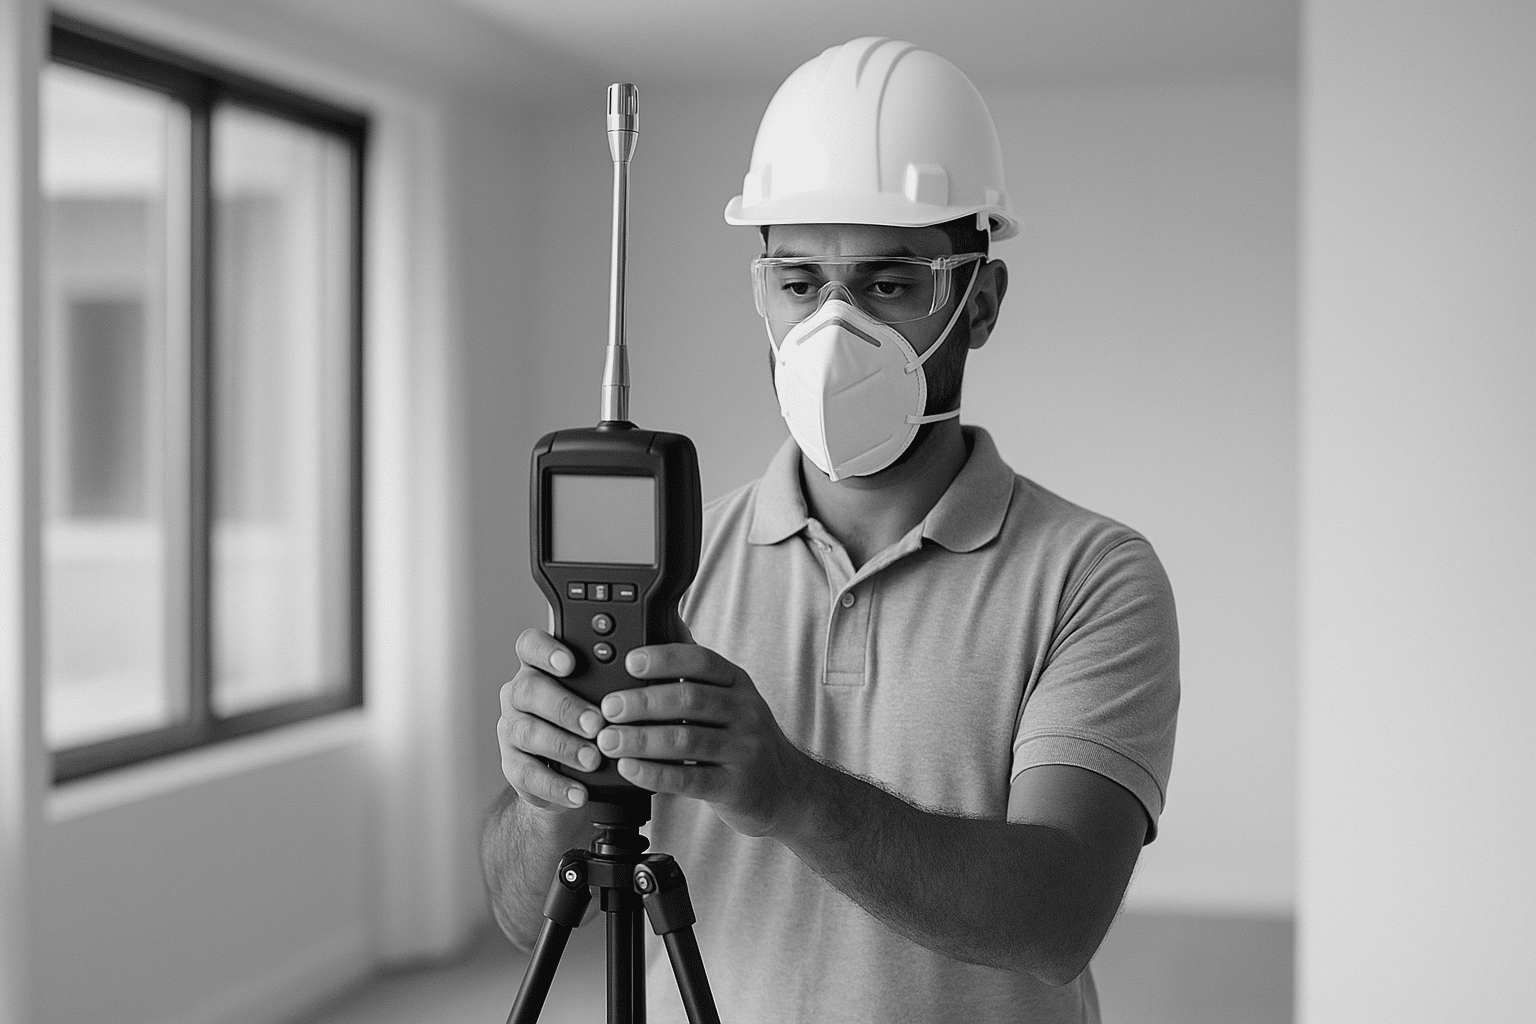
Before beginning any cleaning, gather essential protective equipment including disposable gloves, a dust mask rated for fine particulates, and safety glasses. These items will shield you from potential allergens, dust, and chemical residues that might be dislodged during the AC cleaning process. Turning off your AC unit at the circuit breaker is also crucial to ensure electrical safety while working on the system. Taking these precautionary steps transforms your preparation from a simple task to a professional grade approach to indoor air quality management.
Step 2: Dismantle and Inspect Key AC Components
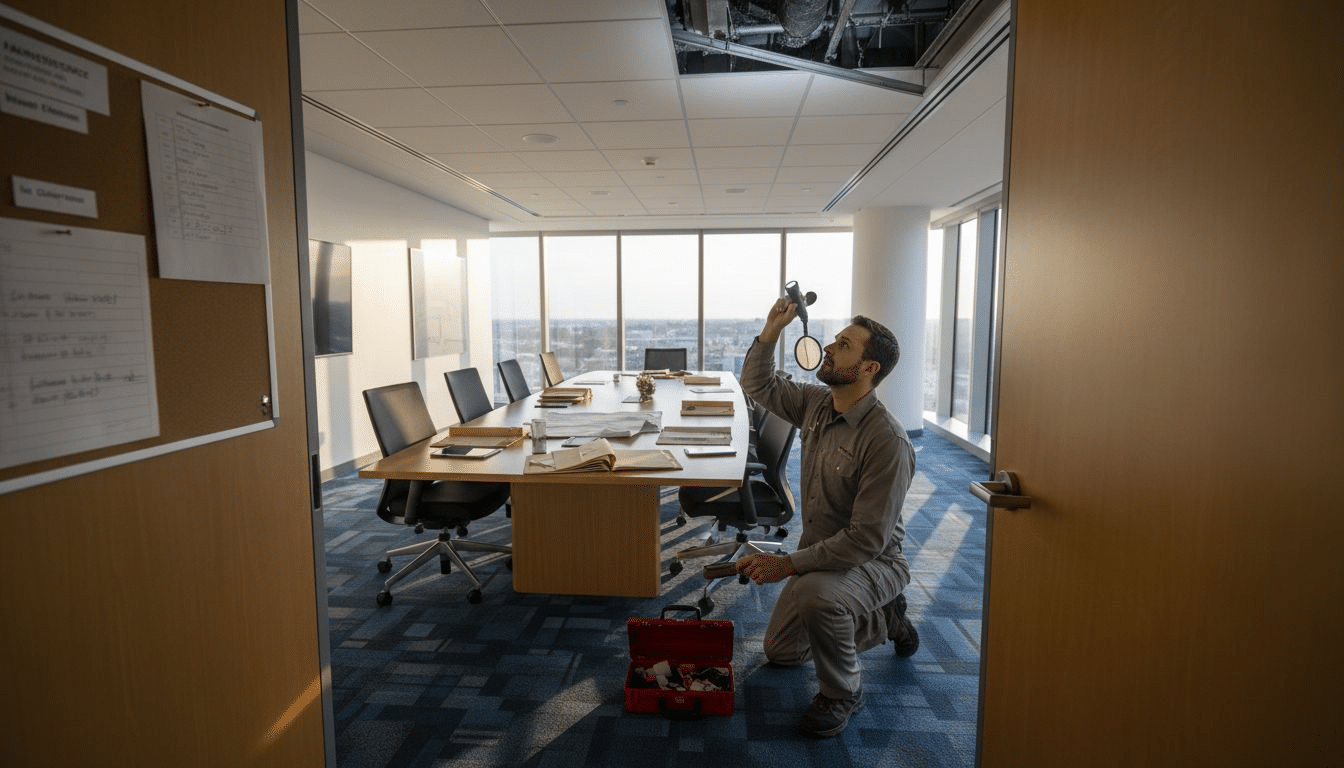
Dismantling and inspecting your AC components is a critical process that requires precision and careful attention to detail. This step allows you to thoroughly evaluate the internal condition of your air conditioning system and identify potential issues that might compromise your indoor air quality.
Begin by carefully removing the front panel of your AC unit. Use a screwdriver appropriate to the screw type and keep all screws organized in a magnetic tray or small container to prevent losing them. Maintaining regular maintenance intervals is crucial for system longevity. Inspect the air filters first they collect dust, allergens, and particulate matter that can significantly impact air quality. Check for discoloration, accumulated debris, or signs of moisture that might indicate potential mold growth. Gently remove the filters and set them aside for cleaning or replacement.
Carefully examine each component you remove temperature sensors, drainage pans, fan blades, and coils for signs of wear, corrosion, or biological growth. Look for any white crusty residue, dark spots, or unusual discoloration which could indicate microbial contamination. Take clear photographs of each component for reference and potential future comparison. Remember that thorough visual inspection is your first line of defense in maintaining a healthy air conditioning system. Your meticulous approach now can prevent more significant problems and ensure cleaner, healthier indoor air circulation.
Step 3: Deep Clean Coils, Filters, and Blower
Deep cleaning your AC system’s critical components is essential for maintaining optimal performance and ensuring healthy indoor air circulation. This meticulous process requires careful techniques and specialized attention to each component to remove accumulated debris, dust, and potential microbial contaminants.
Regular maintenance of AC components significantly improves system efficiency and air quality. Start with the air filters by preparing a cleaning solution of mild detergent and warm water. Gently wash reusable filters or replace disposable ones if they show signs of significant wear. For the evaporator and condenser coils, use a soft bristle brush and specialized coil cleaner to remove dust and grime without damaging the delicate fins. Work methodically from top to bottom, ensuring you do not bend or distort the aluminum fins during the cleaning process.
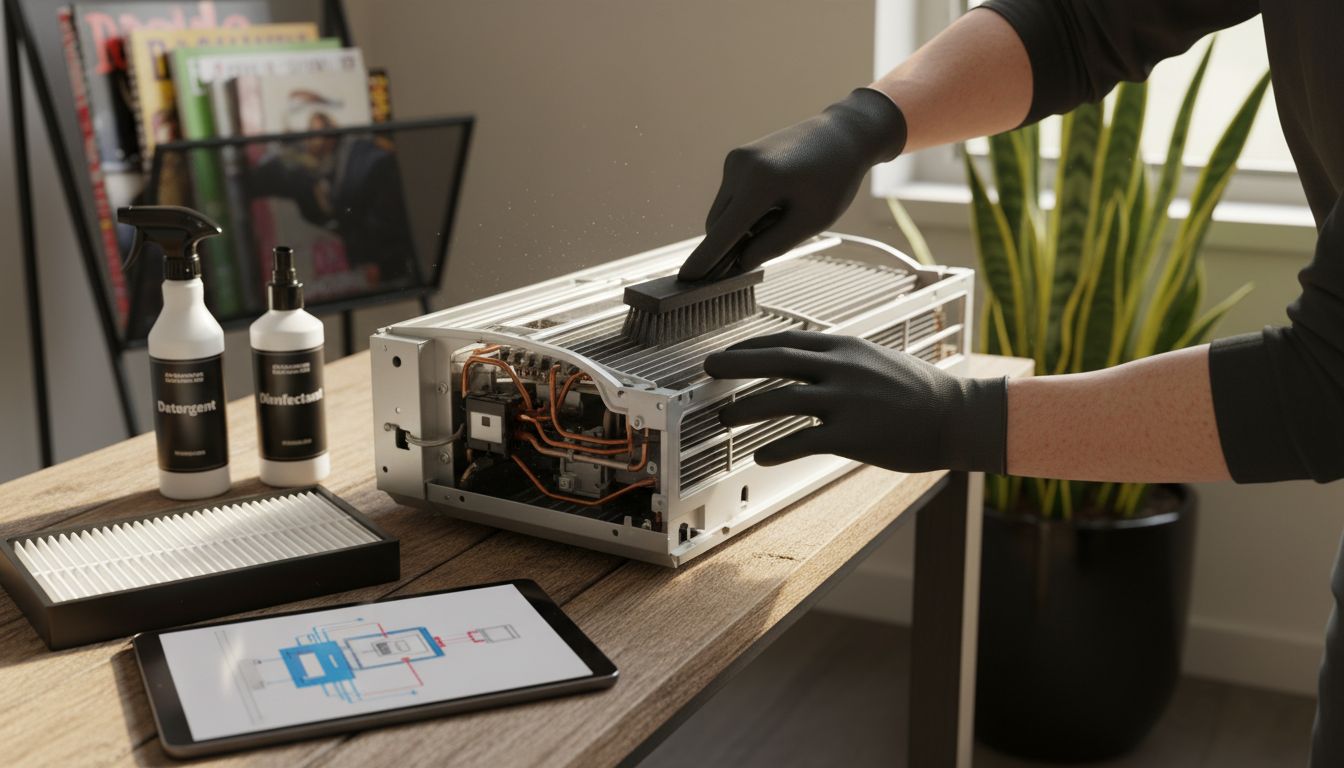
The blower assembly requires equally careful attention. Disconnect the power and use a vacuum with a soft brush attachment to remove loose dust and debris. Wipe down the blower blades with a microfiber cloth dampened with a mild cleaning solution. Pay special attention to areas where moisture might accumulate, as these can become breeding grounds for mold and bacteria. After cleaning, allow all components to air dry completely before reassembling to prevent moisture related complications. Your thorough approach ensures not just a cleaner AC system, but a healthier indoor environment for you and your family.
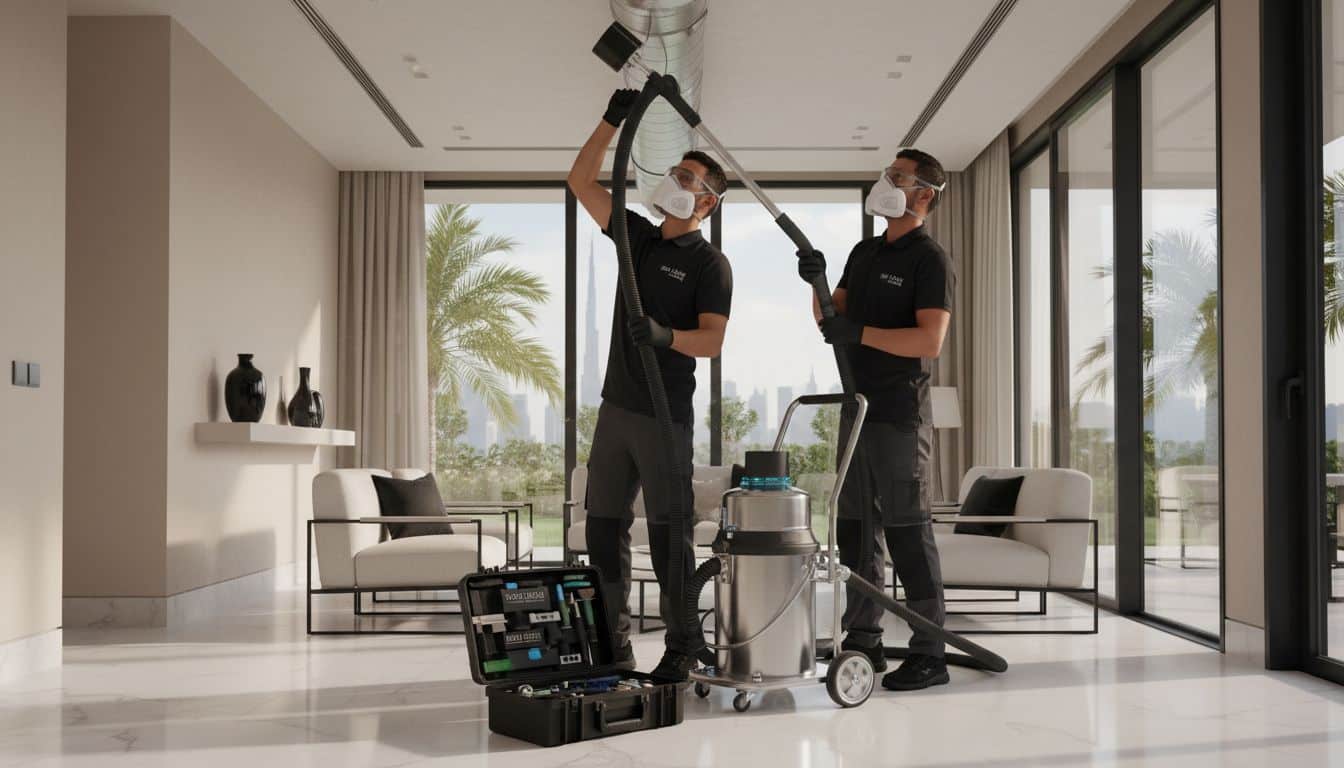
Step 4: Disinfect Internal Surfaces and Ducts
Disinfecting the internal surfaces and ducts of your AC system is a critical step in ensuring truly healthy indoor air quality. This comprehensive process eliminates hidden microbial contaminants and prevents potential respiratory health risks associated with neglected HVAC systems.
Selecting cleaning agents with minimal volatile organic compounds is crucial for maintaining a safe indoor environment. Begin by preparing a hospital grade disinfectant solution specifically designed for HVAC systems. Use microfiber cloths to meticulously wipe down all internal surfaces including drainage pans, cooling coils, and internal housing. For duct sanitization, utilize a specialized antimicrobial spray that can reach deep into the ductwork without causing damage to the system components.
Professional duct cleaning recommendations suggest thorough treatment every 3 to 5 years. However, for homes in dusty environments like Dubai, more frequent sanitization might be necessary. Pay special attention to areas prone to moisture accumulation where mold and bacteria can rapidly proliferate. After applying the disinfectant, allow sufficient drying time to prevent potential microbial regrowth. Ensure proper ventilation during and after the disinfection process to help eliminate any residual chemical odors and support a complete refresh of your indoor air environment.
Step 5: Reassemble Unit and Check Performance
Reassembling your AC unit requires precision and careful attention to detail to ensure optimal functionality and performance. This final step transforms your meticulous cleaning efforts into a fully restored and efficient cooling system that supports healthier indoor air quality.
Begin by systematically replacing each component in the reverse order of disassembly. Align screws precisely and ensure they are tightened to manufacturer specifications without over tightening. Checking performance after reassembly involves running the unit and monitoring several key indicators. Listen carefully for any unusual sounds that might suggest misalignment or mechanical issues. Observe the airflow from vents to confirm consistent and smooth air distribution. Check that temperature output matches your system settings and that no unusual odors are present during the initial startup.
Pay special attention to the system’s initial cool down cycle. Verify that humidity levels remain stable and that the unit cycles on and off smoothly. If you detect any irregularities like stuttering compressor operation, inconsistent cooling, or unexpected noises, stop the system and review your reassembly process. Your careful approach ensures not just a clean AC unit, but a fully functional system that supports a healthy indoor environment.
Ensure Healthier Indoor Air with Expert AC Cleaning from Saniservice
Maintaining a clean and efficient air conditioning system is essential to protect your indoor air quality from allergens, mold, and bacteria as outlined in the step-by-step AC cleaning guide. If you feel overwhelmed by the detailed process of dismantling, deep cleaning, and disinfecting each component or worry about potential mistakes that could impact your system’s performance or your family’s health then professional help is the key. Saniservice offers specialized AC Cleaning & Maintenance services delivered by NADCA-certified technicians who use hospital-grade, chemical-free biosanitisers to eliminate all hidden contaminants for truly safer air.
Take control of your indoor environment now with evidence-based, precise cleaning supported by our in-house microbiology laboratory and multidisciplinary indoor sciences team. Don’t wait for issues like mold growth or poor airflow to affect your comfort and health. Visit Saniservice and explore our proven solutions or review successful transformations in our Case Studies. Schedule a professional AC cleaning today for a fresher, healthier home and greater peace of mind.
Frequently Asked Questions
How can I prepare my space before cleaning my AC unit?
To prepare your space, clear the area around your AC unit of furniture and any objects within a 3-foot radius. Cover nearby electronics with plastic sheeting and ensure proper ventilation by opening windows or using fans.
What should I inspect when dismantling my AC unit?
When dismantling your AC unit, inspect key components such as air filters, temperature sensors, drainage pans, and coils for any signs of wear, discoloration, or moisture. Take photographs for reference and ensure all components are clean and free of debris before reassembly.
How do I deep clean the coils and filters of my AC unit?
To deep clean coils and filters, wash reusable filters with a mild detergent and warm water. Use a soft bristle brush and coil cleaner on the evaporator and condenser coils to remove dust without damaging the fins.
What steps should I take to disinfect the internal surfaces of my AC system?
Disinfect all internal surfaces by using a hospital-grade disinfectant solution to wipe down components like the drainage pans and cooling coils. For ducts, use an antimicrobial spray to target hidden contaminants and allow adequate drying time to prevent microbial regrowth.
How can I check my AC unit’s performance after reassembly?
After reassembling, run your AC unit and listen for unusual sounds while observing airflow from vents. Confirm that the temperature output matches settings and ensure the unit cycles smoothly without odors, indicating effective operation.
How often should I clean my AC unit for optimal indoor air quality?
For optimal indoor air quality, clean your AC unit and its components at least once a year. Depending on your environment, consider more frequent cleanings, especially in dusty areas, to maintain effective air circulation and reduce allergens.
Recommended
- AC Maintenance Step by Step Guide for Cleaner Indoor Air
- HVAC Cleaning Process 2025: Step-By-Step Guide for Healthier Air – Saniservice AC Cleaning
- AC Coil Cleaning Step by Step for Healthier Homes – Saniservice AC Cleaning
- How to Clean AC Ducts Naturally for Healthier Airflow – Saniservice AC Cleaning
- Understanding Improving Indoor Air Quality for Healthier Spaces – Mats4U USA