

How to Clean AC Ducts Naturally for Healthier Airflow
Dust and microbes hiding in your AC ducts can lower indoor air quality without warning. Many homeowners are surprised to learn that AC systems can collect enough debris to impact allergy symptoms, energy bills, and even system lifespan. Taking the right steps to clean your ducts naturally protects your health while making your AC run better. This guide breaks down every phase from safety gear to advanced natural cleaning so you feel confident tackling the job.
Table of Contents
Contents
- 1 Table of Contents
- 2 Quick Summary
- 3 Step 1: Gather Tools and Safety Equipment
- 4 Step 2: Inspect Ducts and AC Components
- 5 Step 3: Remove and Clean AC Vents
- 6 Step 4: Vacuum and Wipe Inside Ducts
- 7 Step 5: Apply Natural Biosanitiser Treatments
- 8 Step 6: Verify Cleanliness and Restore System
- 9 Elevate Your Air Quality with Expert AC Cleaning Solutions
- 10 Frequently Asked Questions
- 10.0.1 How do I gather the necessary tools for cleaning AC ducts naturally?
- 10.0.2 What steps should I take to inspect my AC ducts before cleaning?
- 10.0.3 How can I clean the AC vents effectively?
- 10.0.4 What is the best method to vacuum the inside of AC ducts?
- 10.0.5 How do I apply a natural biosanitiser treatment to my ducts?
- 10.0.6 What should I check after completing the AC duct cleaning process?
- 11 Recommended
- Step 1: Gather Tools and Safety Equipment
- Step 2: Inspect Ducts and AC Components
- Step 3: Remove and Clean AC Vents
- Step 4: Vacuum and Wipe Inside Ducts
- Step 5: Apply Natural Biosanitiser Treatments
- Step 6: Verify Cleanliness and Restore System
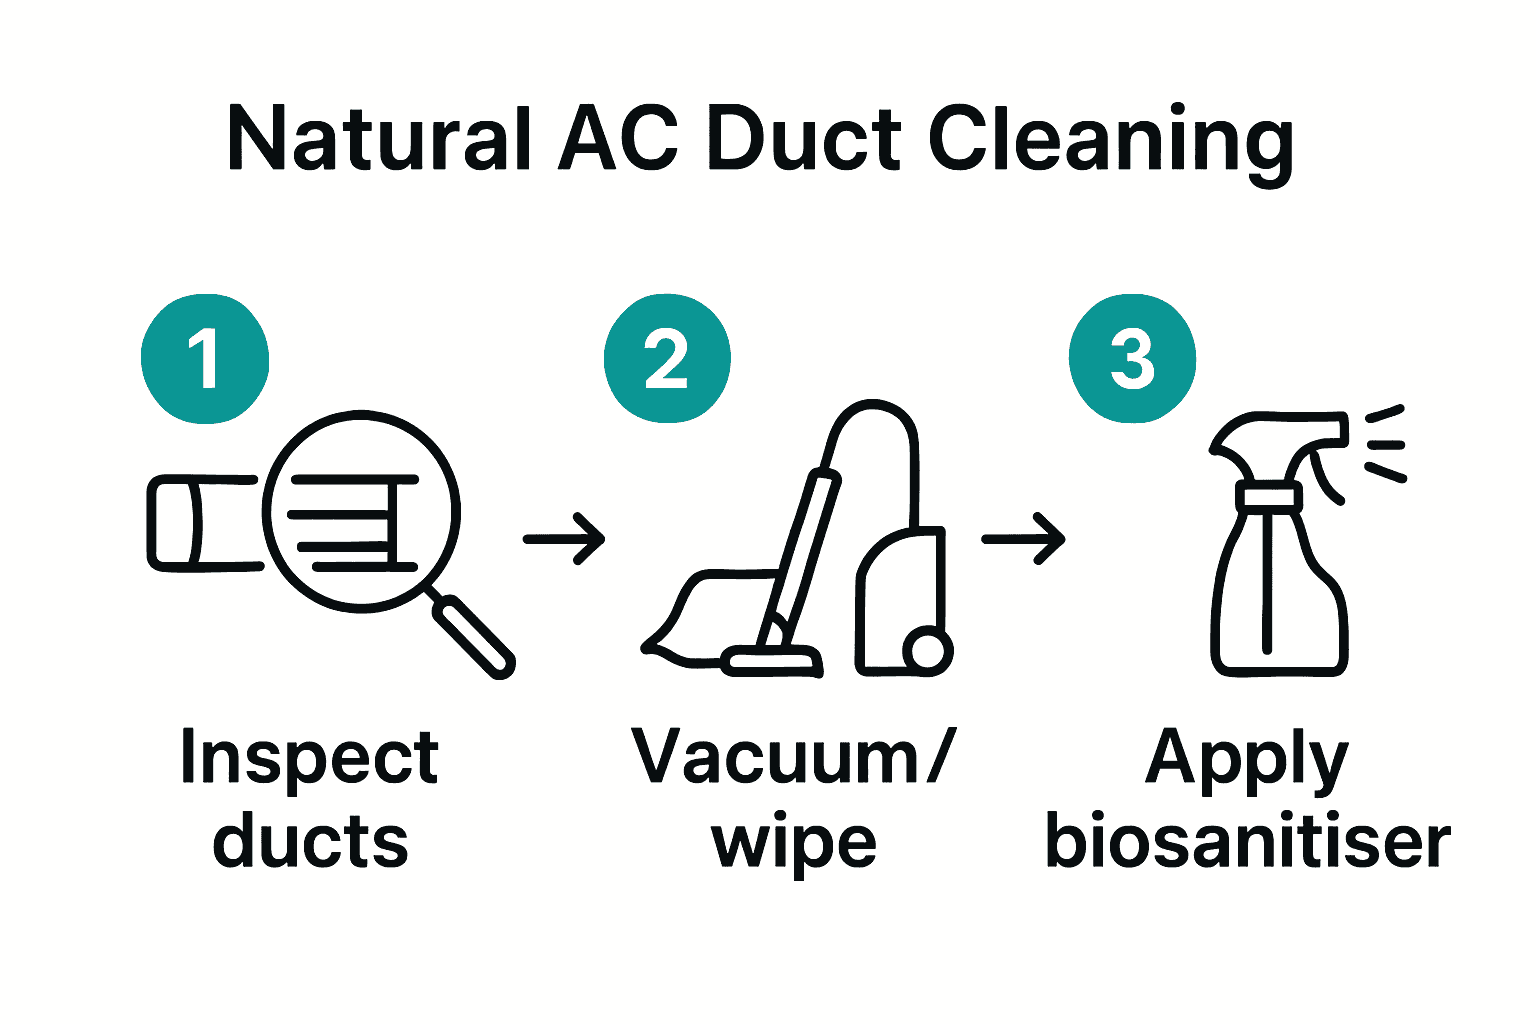
Quick Summary
| Key Point | Explanation |
|---|---|
| 1. Gather essential tools and safety gear | Ensure you have all required tools like hacksaws, vise grips, safety goggles, gloves, and respiratory masks for a safe cleaning process. |
| 2. Conduct a thorough duct inspection | Carefully examine ducts for dust, mold, and blockages, noting any issues with photographs to guide your cleaning approach. |
| 3. Use natural cleaning solutions for vents | Clean vent covers with a mild detergent or vinegar solution, scrubbing edges and allowing them to air dry for optimal cleanliness. |
| 4. Vacuum and wipe duct interiors methodically | Attach a HEPA-filter vacuum to clean inside ducts, then wipe down surfaces with a damp cloth to remove remaining dust and particles. |
| 5. Apply natural biosanitiser treatments | Use solutions like vinegar or hydrogen peroxide to disinfect ducts, preventing microbial growth and enhancing indoor air quality. |
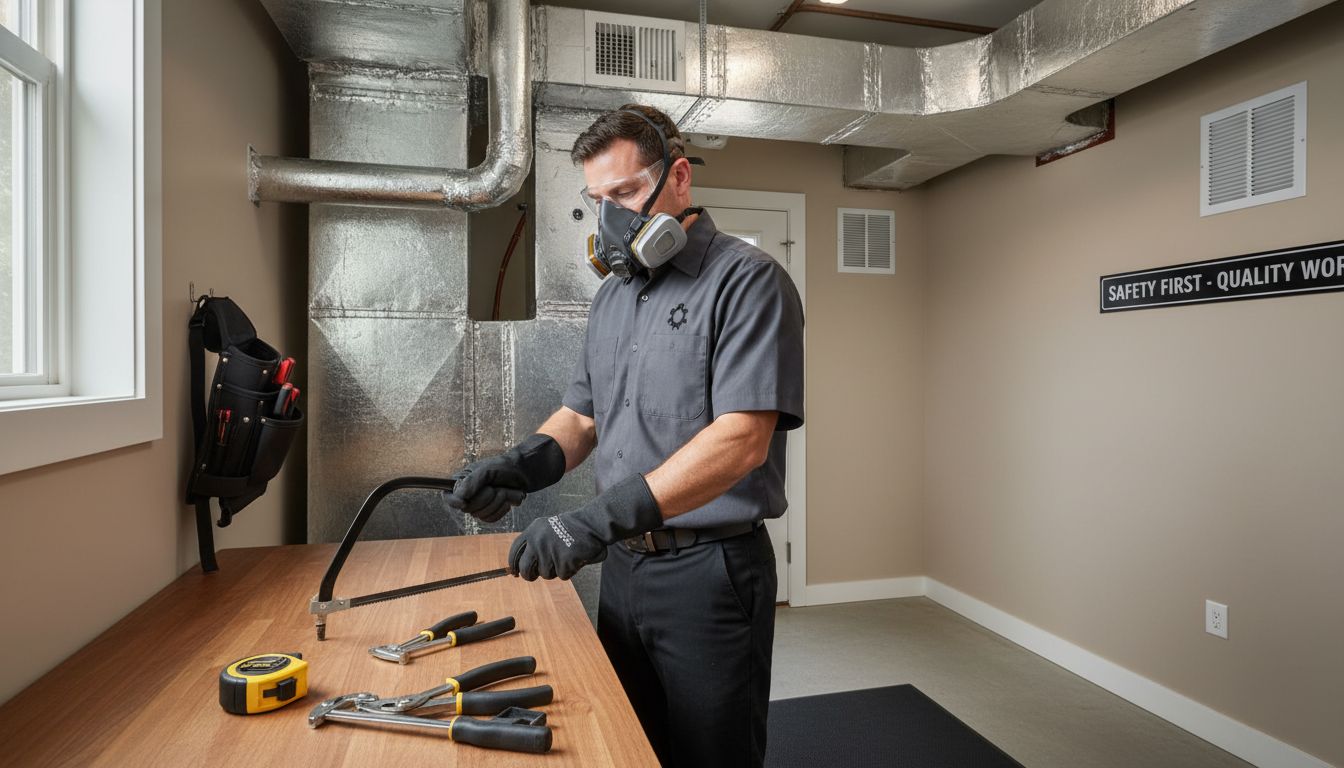
Step 1: Gather Tools and Safety Equipment
Preparing for a natural AC duct cleaning requires strategic tool selection and comprehensive safety precautions. According to TESDA, you will need a specific set of tools and protective equipment to ensure an effective and safe cleaning process.
Your essential toolkit should include several key categories of equipment. For cutting and measuring, gather precision tools like a hacksaw, crosscut saw, measuring tape, and marking pencil. You will also need holding tools such as vise grips and C clamps to stabilize components during cleaning. Personal protective equipment is non negotiable your safety gear must include safety goggles, thick work gloves, closed toe shoes or work boots, and a protective apron or coverall.
As the EPA emphasizes in their cleaning protocols, protecting yourself from potential contaminants is crucial. Wear a respiratory mask rated for dust and potential microbial particles to prevent inhaling debris or allergens during the cleaning process. Organize your tools in a clean accessible workspace before beginning to ensure a smooth workflow and minimize potential disruptions.
Your next step will involve preparing the AC system for natural cleaning techniques.
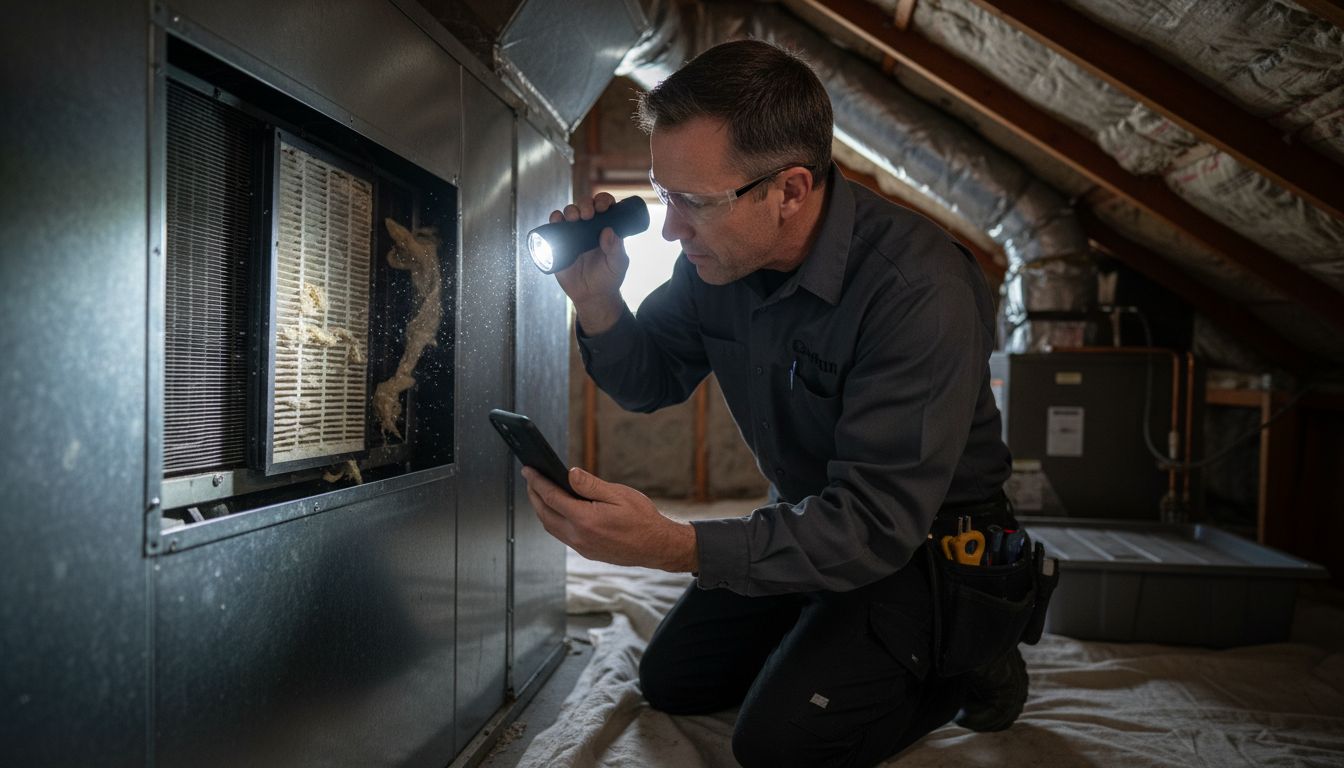
Step 2: Inspect Ducts and AC Components
Inspecting your AC ducts and components is crucial for maintaining healthy indoor air quality and system efficiency. EPA guidelines recommend a comprehensive visual examination to identify potential issues before beginning the natural cleaning process.
Start by carefully removing vent covers and using a flashlight to examine the interior of the ducts. Look for telltale signs of contamination including visible dust buildup, dark spots indicating potential mold growth, and any unusual debris or blockages. According to TESDA, key areas to scrutinize include heat exchange coils, cooling coils, air flow control devices, and filtration components. Pay special attention to moisture accumulation areas which can harbor microbial growth and compromise your indoor air quality.
While inspecting, document your findings with clear photographs to track the condition of your AC system. Check for any structural damage like cracks or loose connections that might require professional attention. A thorough inspection will help you determine the most appropriate natural cleaning approach and identify any potential safety concerns.
 Learn more about detailed AC duct inspection services to understand professional assessment techniques.
With your inspection complete, you are now ready to prepare for the natural cleaning process.
Step 3: Remove and Clean AC Vents
Removing and cleaning AC vents is a critical step in maintaining healthy indoor air quality. EPA guidelines emphasize the importance of thorough vent maintenance to eliminate microbial growth and particulate matter that can compromise your HVAC system’s performance.
Begin by turning off your AC system completely to ensure safety. According to TESDA, use a screwdriver to carefully remove each vent cover, placing screws in a secure container to prevent loss. Inspect the removed vent covers for accumulated dust, debris, and potential signs of mold. Prepare a cleaning solution using warm water mixed with a small amount of mild detergent or white vinegar for a natural cleaning approach. Gently scrub the vent covers with a soft brush or microfiber cloth, ensuring you remove all visible dirt and grime.
Pay special attention to the edges and corners where dust and microbial growth can accumulate. Rinse the vent covers thoroughly with clean water and allow them to air dry completely before reinstallation. Check out our guide on AC duct cleaning services for additional professional insights into comprehensive vent maintenance. Your meticulous approach will help ensure cleaner air and more efficient HVAC system performance.
With the vents cleaned, you are now prepared to move on to the next stage of your natural AC duct cleaning process.
Step 4: Vacuum and Wipe Inside Ducts
Cleaning the interior of your AC ducts requires careful technique and precision to effectively remove accumulated dust and potential microbial contaminants. EPA guidelines recommend a systematic approach to improve indoor air quality and HVAC system performance.
According to TESDA, begin by attaching a long vacuum hose with a high efficiency particulate air (HEPA) filter to your vacuum cleaner. This specialized attachment allows you to reach deep into the ductwork and extract dust and debris without dispersing particles back into your living space. Move the vacuum nozzle slowly and methodically along the interior surfaces, ensuring comprehensive coverage and maximum dust removal. Follow the vacuuming with a microfiber cloth dampened with a natural cleaning solution of white vinegar and water to wipe down the duct surfaces and capture any remaining fine particles.
Pay special attention to corners and joints where dust tends to accumulate most densely. Work systematically from the furthest point back towards the main vent to prevent recontamination. Learn more about professional AC duct cleaning techniques to understand advanced cleaning strategies. Your thorough approach will significantly improve your home’s indoor air quality and HVAC system efficiency.
With the interior of your ducts cleaned, you are now ready to move on to the next stage of the natural AC duct maintenance process.
Step 5: Apply Natural Biosanitiser Treatments
Applying natural biosanitiser treatments is a crucial final step in thoroughly cleaning your AC ducts and ensuring healthier indoor air quality. EPA guidelines emphasize selecting cleaning agents that effectively combat microbial contaminants while maintaining safety standards for HVAC systems.
Prepare a natural biosanitiser solution using white vinegar or hydrogen peroxide mixed with water. Innovative research from ArXiv suggests advanced filtration techniques can eliminate over 95% of microorganisms in air systems. Using a clean spray bottle or microfiber cloth, carefully apply the solution to the interior duct surfaces. Work systematically from the furthest point towards the main vent, ensuring complete coverage without oversaturating the surfaces. Allow the solution to air dry naturally to maximize its antimicrobial properties.
Explore our health-focused villa owner solutions for more advanced indoor air quality strategies. The natural biosanitiser treatment will help neutralize remaining bacteria and prevent future microbial growth, leaving your AC ducts clean and your indoor environment healthier.
With the biosanitiser applied, your AC duct cleaning process is nearly complete.
Step 6: Verify Cleanliness and Restore System
Finalizing your AC duct cleaning process requires meticulous verification and careful system restoration. EPA guidelines emphasize the importance of thorough post-cleaning inspections to ensure complete contaminant removal and optimal system performance.
According to TESDA, begin by carefully reassembling all vent covers and AC components you previously removed. Use a flashlight to conduct a detailed visual inspection inside the ducts, checking for any remaining dust or missed areas. Turn on your AC system and listen for any unusual sounds while monitoring airflow from each vent. Check that the air feels cleaner and fresher compared to before the cleaning process. Pay special attention to air circulation and temperature consistency across different rooms.
Verify your cleaning results with expert post-cleaning checks to ensure comprehensive system restoration. If you notice any persistent issues or are uncertain about the cleaning results, consider consulting a professional HVAC technician to perform a comprehensive system evaluation. Your thorough approach ensures improved indoor air quality and more efficient AC system performance.
Congratulations on successfully completing your natural AC duct cleaning process.
Elevate Your Air Quality with Expert AC Cleaning Solutions
Cleaning AC ducts naturally is a vital step toward healthier airflow and a safer indoor environment. Yet challenges like deep-seated dust, hidden mold growth, and stubborn allergens can make DIY efforts feel overwhelming and incomplete. The detailed natural cleaning process in the article highlights crucial stages like thorough inspection, vacuuming with HEPA filters, and biosanitiser applications — steps that demand precision and specialized tools to truly refresh your air system.
At Saniservice, we understand these pain points and offer scientifically proven, chemical-free AC cleaning and maintenance that goes beyond surface cleaning. Our NADCA-certified technicians meticulously dismantle and disinfect every component with hospital-grade biosanitisers that eliminate mold, bacteria, and allergens for lasting indoor health. With our triple ISO certifications and in-house microbiology expertise, we bring you Swiss-quality service combined with cutting-edge science.
Ready to experience cleaner, safer air in your home or villa? Explore AC Cleaning & Maintenance – Saniservice AC Cleaning for tailored solutions that complement your natural cleaning efforts.
Don’t settle for partial cleaning when your indoor air quality deserves professional care. Visit Saniservice now to schedule a detailed inspection and treatment that ensures healthier airflow and greater energy efficiency. Learn how our proven methods, backed by real success stories in our Case Studies, can make a tangible difference in your indoor environment today.
Frequently Asked Questions
How do I gather the necessary tools for cleaning AC ducts naturally?
To clean AC ducts naturally, you’ll need basic tools and safety gear including a hacksaw, measuring tape, safety goggles, thick work gloves, and a HEPA vacuum attachment. Prepare everything in an organized space before you start to ensure an efficient workflow.
What steps should I take to inspect my AC ducts before cleaning?
Begin by removing vent covers and shining a flashlight inside the ducts to look for dust buildup or signs of mold. Document your findings with photographs and note any areas that may need extra attention during the cleaning process.
How can I clean the AC vents effectively?
After turning off your AC system, remove each vent cover with a screwdriver and wash them using a mixture of warm water and mild detergent. Scrub the vent edges and corners thoroughly before air drying them completely for reinstallation.
What is the best method to vacuum the inside of AC ducts?
Attach a long vacuum hose with a HEPA filter to your vacuum cleaner and carefully vacuum along the interior surfaces of the ducts. Ensure consistent coverage and pay extra attention to corners to capture as much dust and debris as possible.
How do I apply a natural biosanitiser treatment to my ducts?
Prepare a solution using white vinegar or hydrogen peroxide mixed with water, and apply it carefully to the interior surfaces of the ducts. Use a spray bottle or cloth; allow the solution to air dry for maximum antimicrobial effect, preventing future microbial growth.
What should I check after completing the AC duct cleaning process?
After cleaning, reassemble all vent covers and turn on your AC to listen for unusual sounds while monitoring airflow. Check that the air feels significantly fresher; if you notice lingering issues, consider a professional assessment.
Recommended
- How to Clean Air Ducts DIY for Healthier Homes – Saniservice AC Cleaning
- AC duct cleaning companies that guarantee improved airflow – Saniservice AC Cleaning
- Best Air Duct Cleaning Companies Near Me – Expert Comparison 2025 – Saniservice AC Cleaning
- HVAC Cleaning Process 2025: Step-By-Step Guide for Healthier Air – Saniservice AC Cleaning


Leave a Reply