

AC Coil Cleaning Step by Step for Healthier Homes
Clogged or dirty AC coils can cut your system’s efficiency by up to 30 percent, causing higher bills and more breakdowns. When dust, mold, and grime collect on the coils, your unit works harder and cools less effectively. Taking time to clean your coils properly not only saves money but also helps your air conditioning last longer. This straightforward guide will show you how to clean your AC coils step by step with safety, performance, and cost savings in mind.
Table of Contents
Contents
- 1 Table of Contents
- 2 Quick Summary
- 3 Step 1: Gather Essential Tools and Safety Equipment
- 4 Step 2: Disconnect Power and Access AC Coils Safely
- 5 Step 3: Remove Surface Debris and Dust from Coils
- 6 Step 4: Apply Cleaning Solution and Brush Thoroughly
- 7 Step 5: Rinse Coils and Ensure Proper Drying
- 8 Step 6: Inspect Results and Restore System Operation
- 9 Keep Your AC Coils Spotless for a Healthier Home Environment
- 10 Frequently Asked Questions
- 10.0.1 What tools do I need for AC coil cleaning?
- 10.0.2 How do I ensure safety when cleaning my AC coils?
- 10.0.3 What is the best way to remove dust and debris from the coils?
- 10.0.4 How do I apply the cleaning solution to the coils?
- 10.0.5 How do I rinse and dry the AC coils properly?
- 10.0.6 What should I check after cleaning the AC coils?
- 11 Recommended
- Step 1: Gather Essential Tools And Safety Equipment
- Step 2: Disconnect Power And Access AC Coils Safely
- Step 3: Remove Surface Debris And Dust From Coils
- Step 4: Apply Cleaning Solution And Brush Thoroughly
- Step 5: Rinse Coils And Ensure Proper Drying
- Step 6: Inspect Results And Restore System Operation
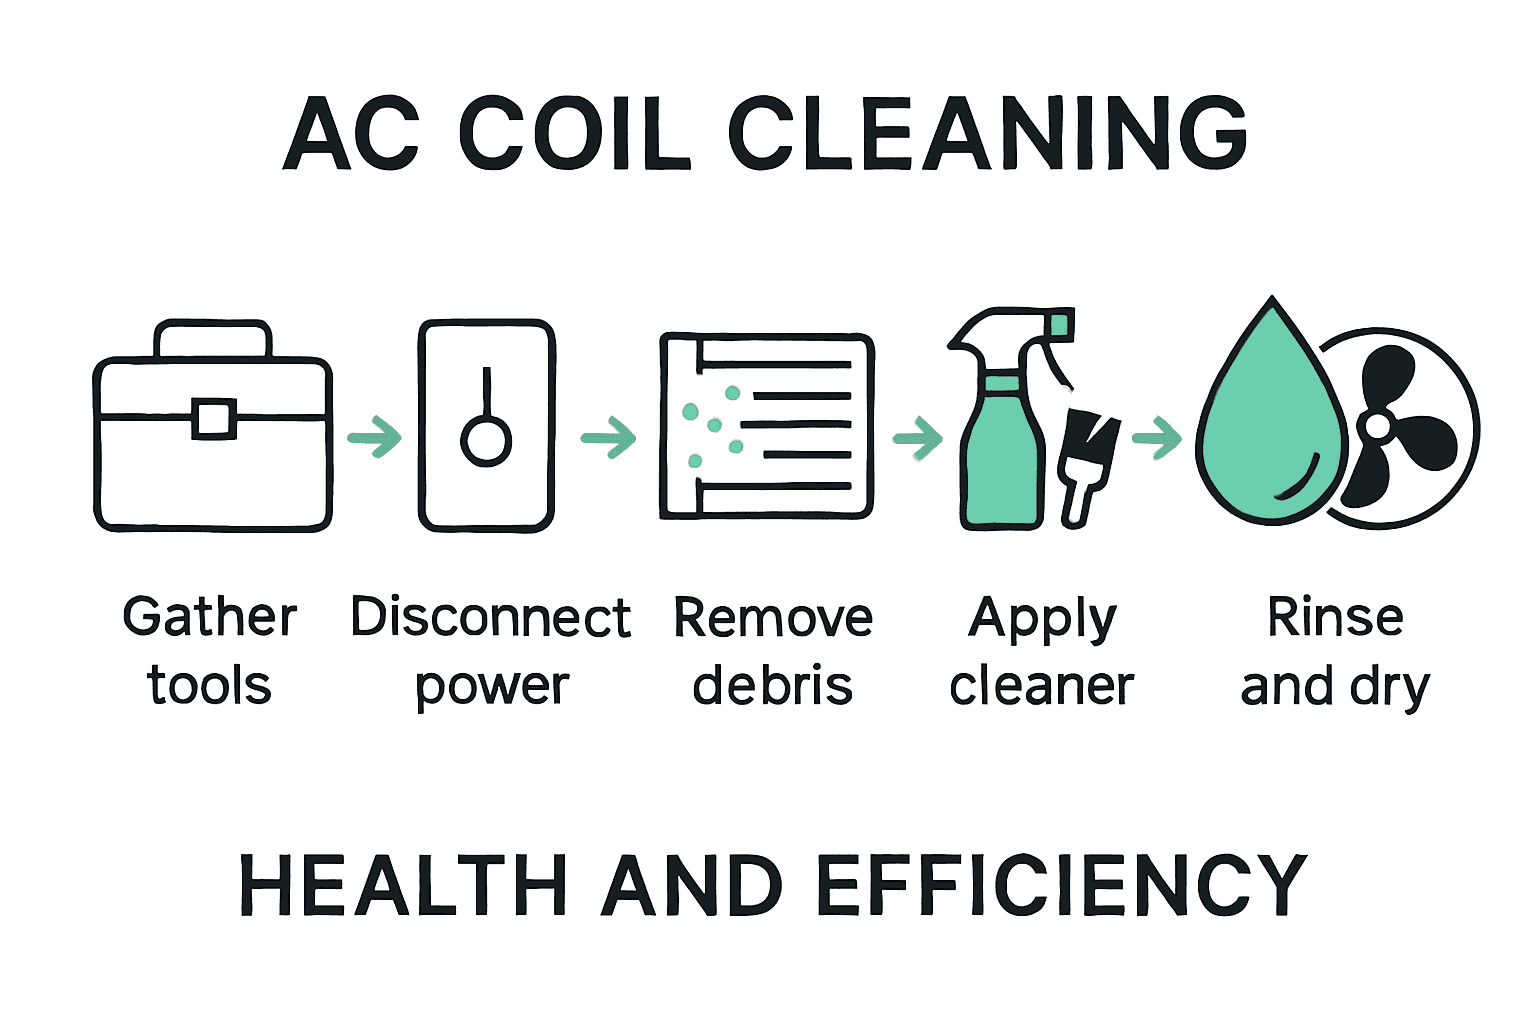
Quick Summary
| Key Point | Explanation |
|---|---|
| 1. Gather the right tools | Ensure you have essential tools like screwdrivers, brushes, hoses, and vacuums for effective cleaning. |
| 2. Disconnect power safely | Always turn off power at the breaker box before working to avoid electrical hazards. |
| 3. Remove surface debris first | Use a soft brush or vacuum to clear dust and debris from coils to prevent clogging. |
| 4. Apply cleaning solution correctly | Use manufacturer-approved cleaners, applying them evenly and allowing time to soak before scrubbing. |
| 5. Rinse coils thoroughly and dry | Rinse with a gentle stream and ensure complete drying to prevent mold growth and maintain efficiency. |
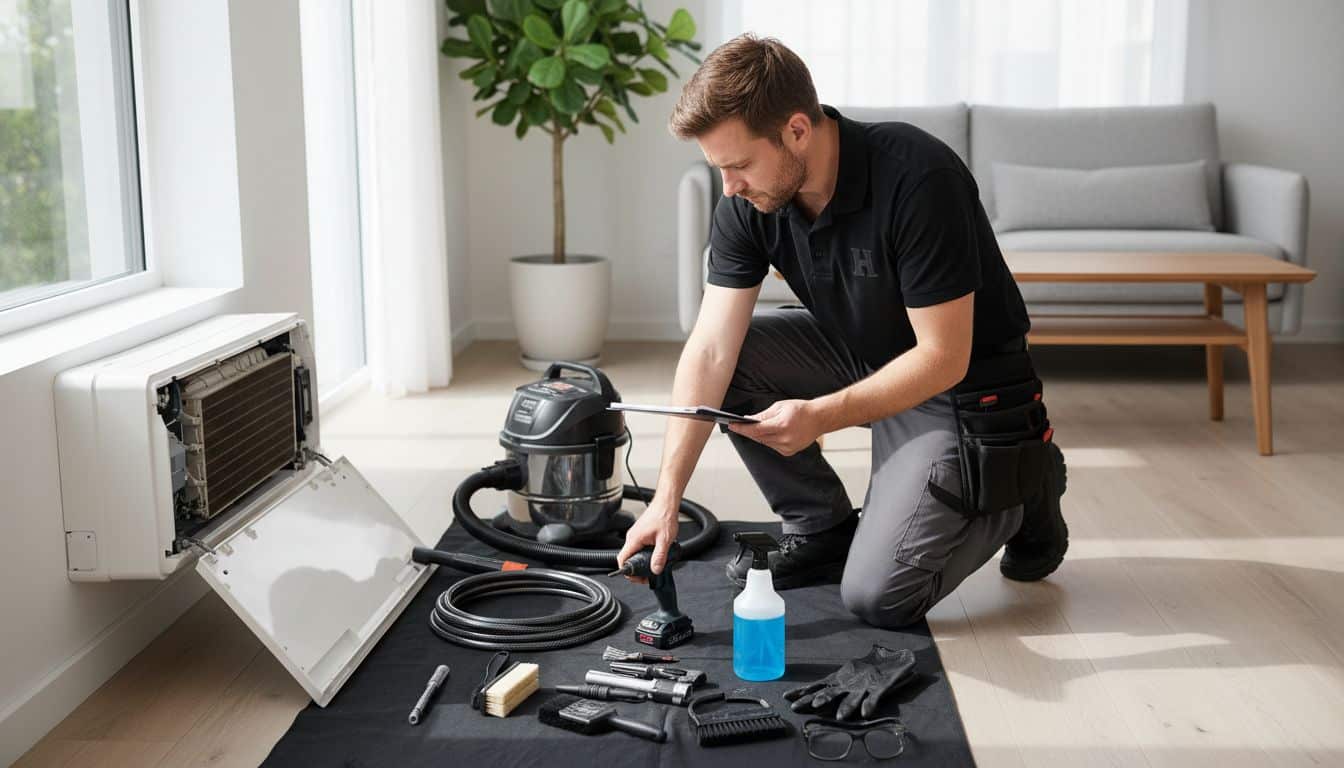
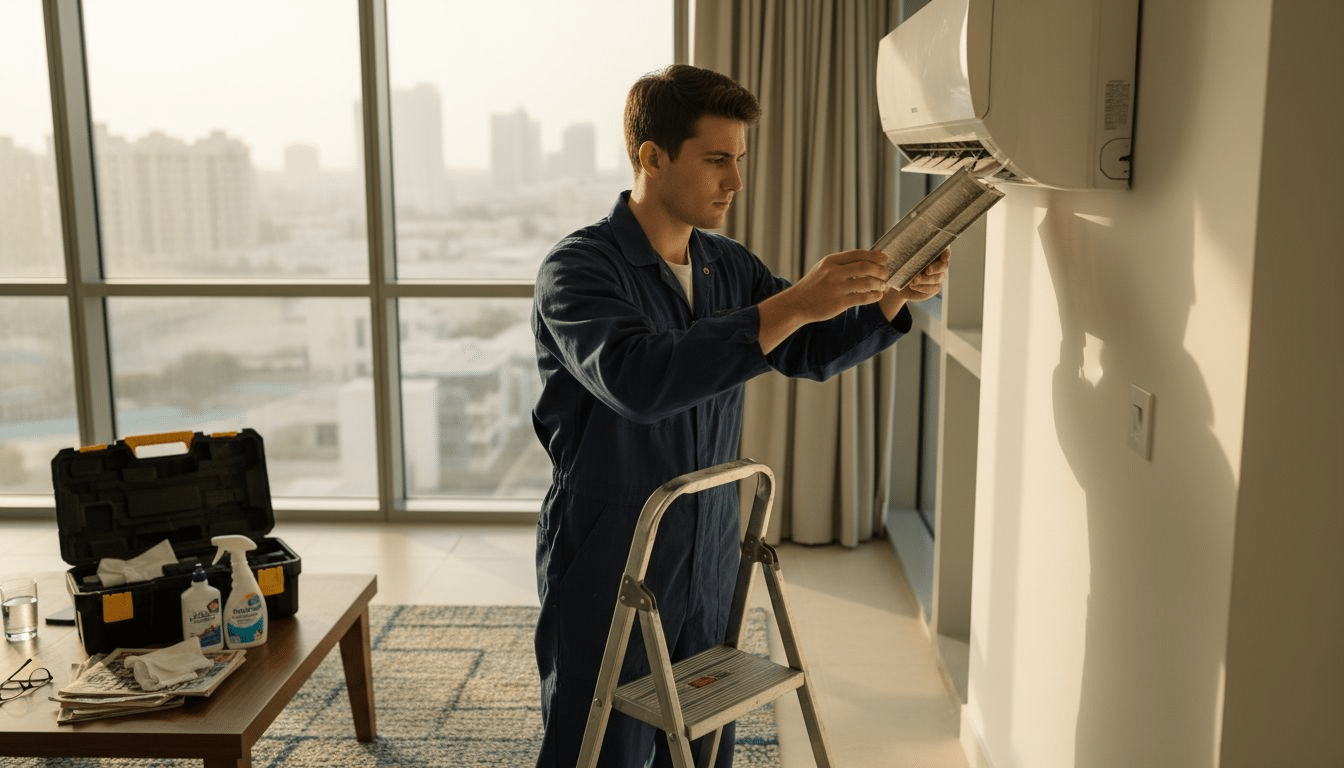
Step 1: Gather Essential Tools and Safety Equipment
Before diving into AC coil cleaning, you will need to gather the right tools and protective gear to ensure a safe and effective process. According to iere.org, having the proper equipment is crucial for successfully cleaning your air conditioning system without causing damage.
Your toolkit should include several key items: a screwdriver for accessing components, a soft brush for gentle cleaning, a garden hose with a spray nozzle, and a vacuum cleaner with a brush attachment. Safety is paramount. As iiarcondenser.org recommends, always wear protective gloves and safety glasses to shield yourself from potential debris and cleaning chemicals.
Pro tip: If you wear prescription glasses, consider using safety glasses that can fit over them or invest in protective eyewear that can be worn directly. Having all your tools organized and within reach before starting will make the cleaning process smoother and more efficient. In the next step, we will prepare your air conditioning unit for a thorough cleaning.
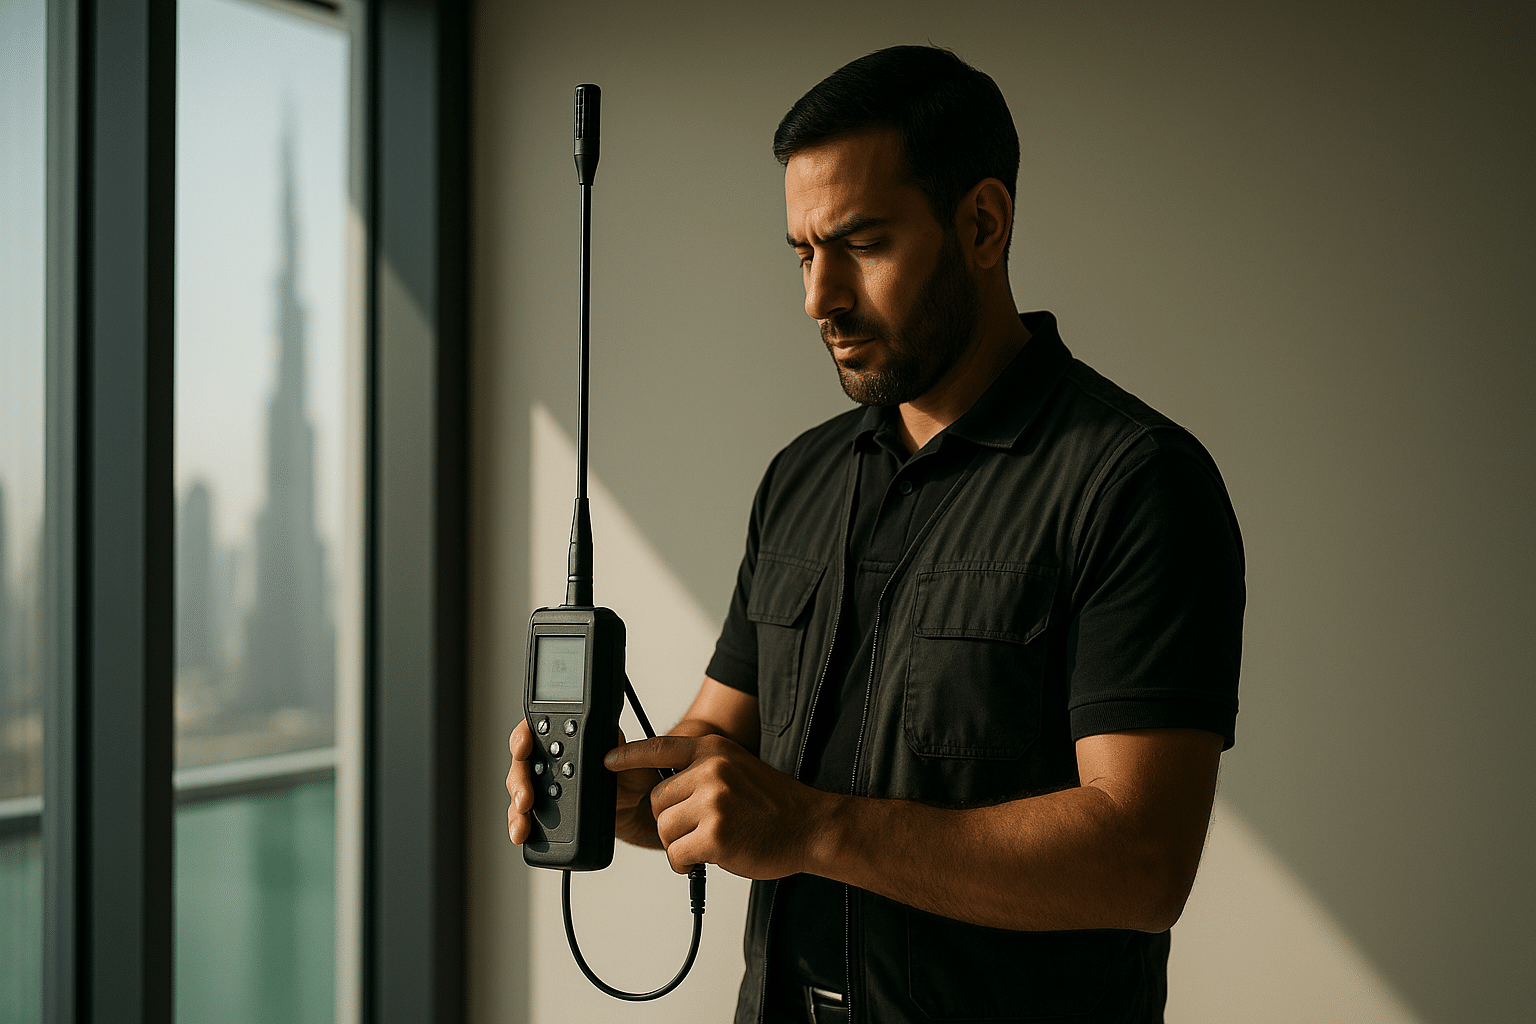
Step 2: Disconnect Power and Access AC Coils Safely
Safety is paramount when preparing to clean your air conditioning coils. As recommended by iere.org, the absolute first step is to disconnect power to your AC unit at the breaker box to prevent any potential electrical shock. This critical safety measure protects you from unexpected electrical currents while working on your system.
Locate your home’s electrical panel and carefully switch off the circuit breaker that controls your air conditioning unit. If you are uncertain which breaker corresponds to your AC system, it is best to turn off the main power supply. Visual confirmation is key verify the unit is completely powered down before proceeding. A helpful technique is to try turning on the thermostat after switching off the breaker to confirm no electrical activity.
Warning: Never attempt to access or clean AC components while the system is still powered. Taking these precautionary steps ensures your personal safety and prevents potential damage to your expensive HVAC equipment. In our 7 Essential Steps for AC Maintenance Checklist, we provide additional guidance on safely preparing your system for cleaning. With power disconnected, you are now ready to carefully access and inspect your AC coils for the next stage of maintenance.
Step 3: Remove Surface Debris and Dust from Coils
Removing surface debris and dust is a critical first step in maintaining your air conditioning system’s efficiency and performance. According to iere.org, carefully removing visible debris from your AC unit helps prevent clogging and ensures optimal functioning.
As iiarcondenser.org recommends, use a soft brush or vacuum cleaner with a gentle attachment to remove dust and debris from the coil surfaces. Start by carefully brushing away loose dirt and dust, working from top to bottom to avoid pushing debris further into the system.
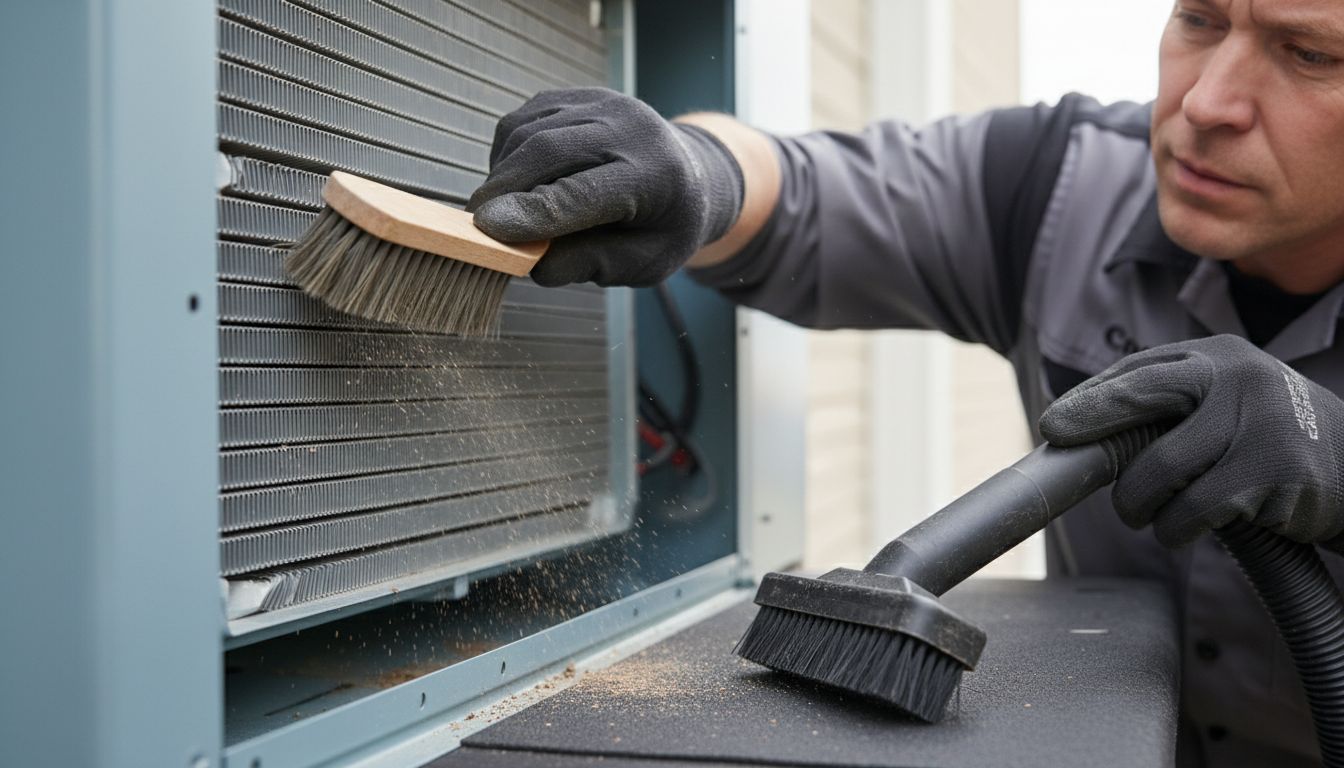 If using a vacuum, choose a brush attachment with soft bristles to prevent damaging the delicate coil fins.
Warning: Always use gentle motions and avoid applying excessive pressure that could bend or damage the aluminum fins. In our insights on AC coil cleaning in Dubai, we explore how regular maintenance can protect your system against the unique challenges of salt air and high humidity. With surface debris removed, you are now prepared for the next stage of deep cleaning your AC coils.
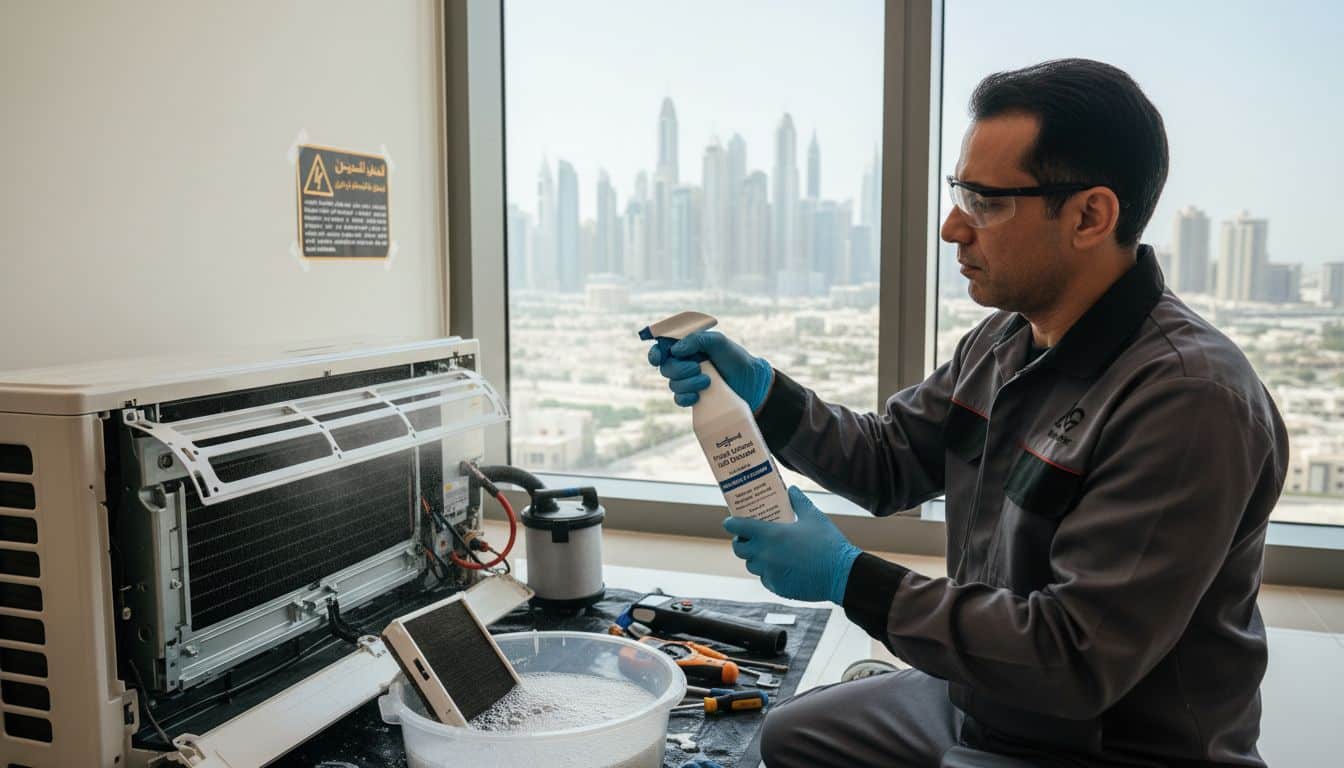
Step 4: Apply Cleaning Solution and Brush Thoroughly
Cleaning your AC coils requires a systematic approach to remove stubborn dirt and restore your system’s efficiency. As recommended by iere.org, the key is to apply a specialized coil cleaner and allow it to work its magic before thoroughly brushing away accumulated grime.
According to iiarcondenser.org, it is crucial to use a manufacturer-approved cleaning solution that is compatible with your specific AC system. Spray the cleaning solution evenly across the coil surfaces, ensuring complete coverage. Let the solution sit for the recommended time typically specified on the product instructions about 5 to 10 minutes to help break down dirt and mineral deposits.
Warning: Always wear protective gloves and work in a well-ventilated area when applying chemical cleaners. In our health risks of dirty AC coils in Dubai, we discuss how improper cleaning can lead to microbial growth and potential respiratory issues. After allowing the cleaning solution to penetrate, use a soft bristled brush to gently scrub the coils, working methodically to remove all contaminants without damaging the delicate fins. You are now ready to rinse and prepare for the next stage of your AC maintenance.
Step 5: Rinse Coils and Ensure Proper Drying
Rinsing and drying your AC coils is a critical final step in the cleaning process that prevents potential damage and ensures optimal system performance. As iere.org recommends, you will want to use a gentle stream of water to thoroughly rinse away any remaining cleaning solution and loosened debris.
Following the guidance from iiarcondenser.org, it is essential to ensure the coils are completely dry to prevent mold growth and maintain system efficiency. Use a clean microfiber cloth or allow natural air circulation to help the drying process. If possible, position a fan to enhance airflow and speed up moisture evaporation. Avoid using compressed air or high pressure water streams that could potentially bend the delicate aluminum fins.
Warning: Moisture is the enemy of clean coils. In our insights on AC coil cleaning in Dubai, we highlight how the high humidity environment can accelerate potential microbial growth if coils are not properly dried. Take your time and ensure each section of the coil is completely dry before reassembling your AC unit. You are now ready to restore power and test your freshly cleaned system.
Step 6: Inspect Results and Restore System Operation
The final stage of AC coil cleaning involves carefully reassembling your system and verifying its performance. As iere.org recommends, meticulously inspect the coils for any remaining debris and ensure all components are properly reinstalled before restoring power to the unit.
According to iiarcondenser.org, it is crucial to verify the system operates correctly after cleaning. Turn on the circuit breaker and thermostat, listening carefully for any unusual sounds that might indicate improper reassembly. Pay attention to airflow quality and temperature consistency. Your AC should now operate more efficiently with noticeably improved cooling performance and reduced energy consumption.
Warning: If you notice any persistent issues such as strange noises, weak airflow, or inconsistent cooling, do not hesitate to contact professional technicians. Our health risks of dirty AC coils in Dubai guide provides additional insights into maintaining your system’s optimal performance. Congratulations on completing a thorough AC coil cleaning that will help ensure a healthier indoor environment for you and your family.
Keep Your AC Coils Spotless for a Healthier Home Environment
Cleaning AC coils can be a daunting task, especially when dealing with stubborn dirt, dust, and hidden microbial growth that threatens your indoor air quality. The step-by-step guide highlighted the importance of careful maintenance to avoid costly damage and health risks. If you want to truly eliminate allergens and contaminants lurking on your AC coils while boosting your system’s efficiency, professional expertise is essential.
Saniservice offers comprehensive AC Cleaning & Maintenance solutions that go beyond surface cleaning. Our NADCA-certified technicians use hospital-grade biosanitisers and advanced techniques guided by scientific research to deep clean and disinfect every component, protecting your home from harmful microbes. See real-life success stories in our Case Studies – Saniservice AC Cleaning section.
Don’t wait until dirty coils cause poor airflow, higher energy bills, or respiratory issues. Visit https://saniacservice.com now to schedule a professional AC coil cleaning service that delivers long-lasting comfort and healthier indoor air. Your home deserves the highest standard of care backed by precision, trust, and Swiss-quality service.
Frequently Asked Questions
What tools do I need for AC coil cleaning?
To clean your AC coils effectively, you’ll need a screwdriver, a soft brush, a garden hose with a spray nozzle, and a vacuum cleaner with a brush attachment. Gather these tools ahead of time to streamline the cleaning process and avoid interruptions.
How do I ensure safety when cleaning my AC coils?
Before starting, always disconnect power to your AC unit at the breaker box to prevent electrical shock. Double-check that the unit is powered down by trying to turn on the thermostat before you begin any cleaning.
What is the best way to remove dust and debris from the coils?
Use a soft brush or a vacuum cleaner with a gentle attachment to carefully remove dust and debris from the coil surfaces. Brush from top to bottom to avoid pushing debris further into the system, and handle the coils delicately to avoid bending the fins.
How do I apply the cleaning solution to the coils?
Spray a manufacturer-approved cleaning solution evenly across the coil surfaces, ensuring full coverage. Allow the solution to sit for 5 to 10 minutes to break down grime, then use a soft-bristled brush to scrub the coils gently.
How do I rinse and dry the AC coils properly?
Use a gentle stream of water to rinse the coils thoroughly, making sure to remove all cleaning solution and debris. Ensure the coils are completely dry afterward by using a clean microfiber cloth or allowing air circulation; moisture can lead to mold growth.
What should I check after cleaning the AC coils?
After cleaning, reassemble your system and restore power, then check for proper airflow and listen for unusual sounds. Monitoring the AC’s cooling performance can help spot any lingering issues right away, ensuring it operates efficiently.
Recommended
- AC Coil Cleaning Explained: Health, Savings, Longevity – Saniservice AC Cleaning
- Expert AC Coil Cleaning Service in Dubai – Home AC Cleaning
- 7 Essential Steps for an Effective HVAC Maintenance Checklist – Saniservice AC Cleaning
- Air Conditioner Disinfection Process for Dubai Residences – Saniservice AC Cleaning
Leave a Reply