
HVAC Hygiene Process: Step-by-Step Cleaning Guide
Over 60 percent of HVAC systems in Dubai experience reduced efficiency due to neglect of proper cleaning and hygiene. For property managers and luxury villa owners, every detail—including the air you breathe—matters for guest satisfaction and asset value. Borrowing best practices from American standards helps set a new benchmark for reliability and cleanliness. This guide walks you through each key step for safe HVAC hygiene, ensuring pristine indoor air and longer system performance in your Dubai properties.
Table of Contents
Contents
- 1 Table of Contents
- 2 Quick Summary
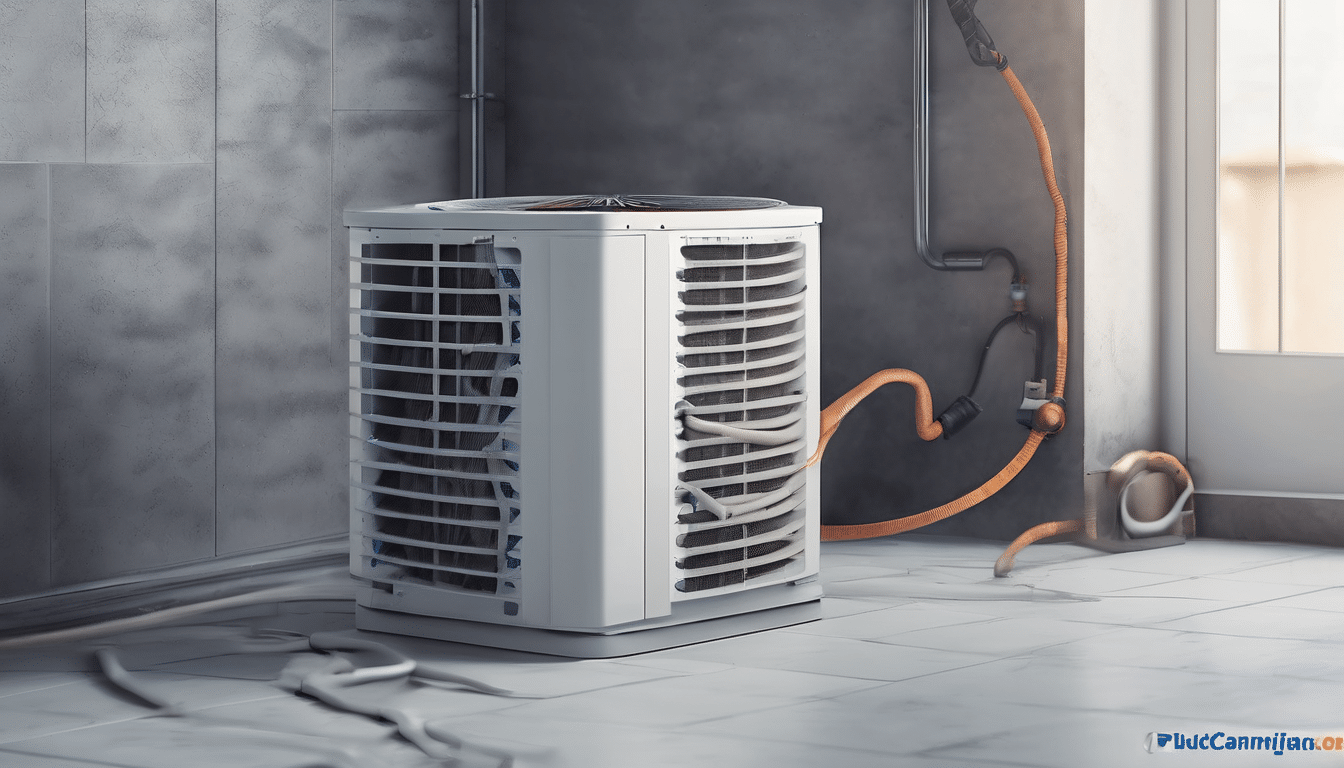
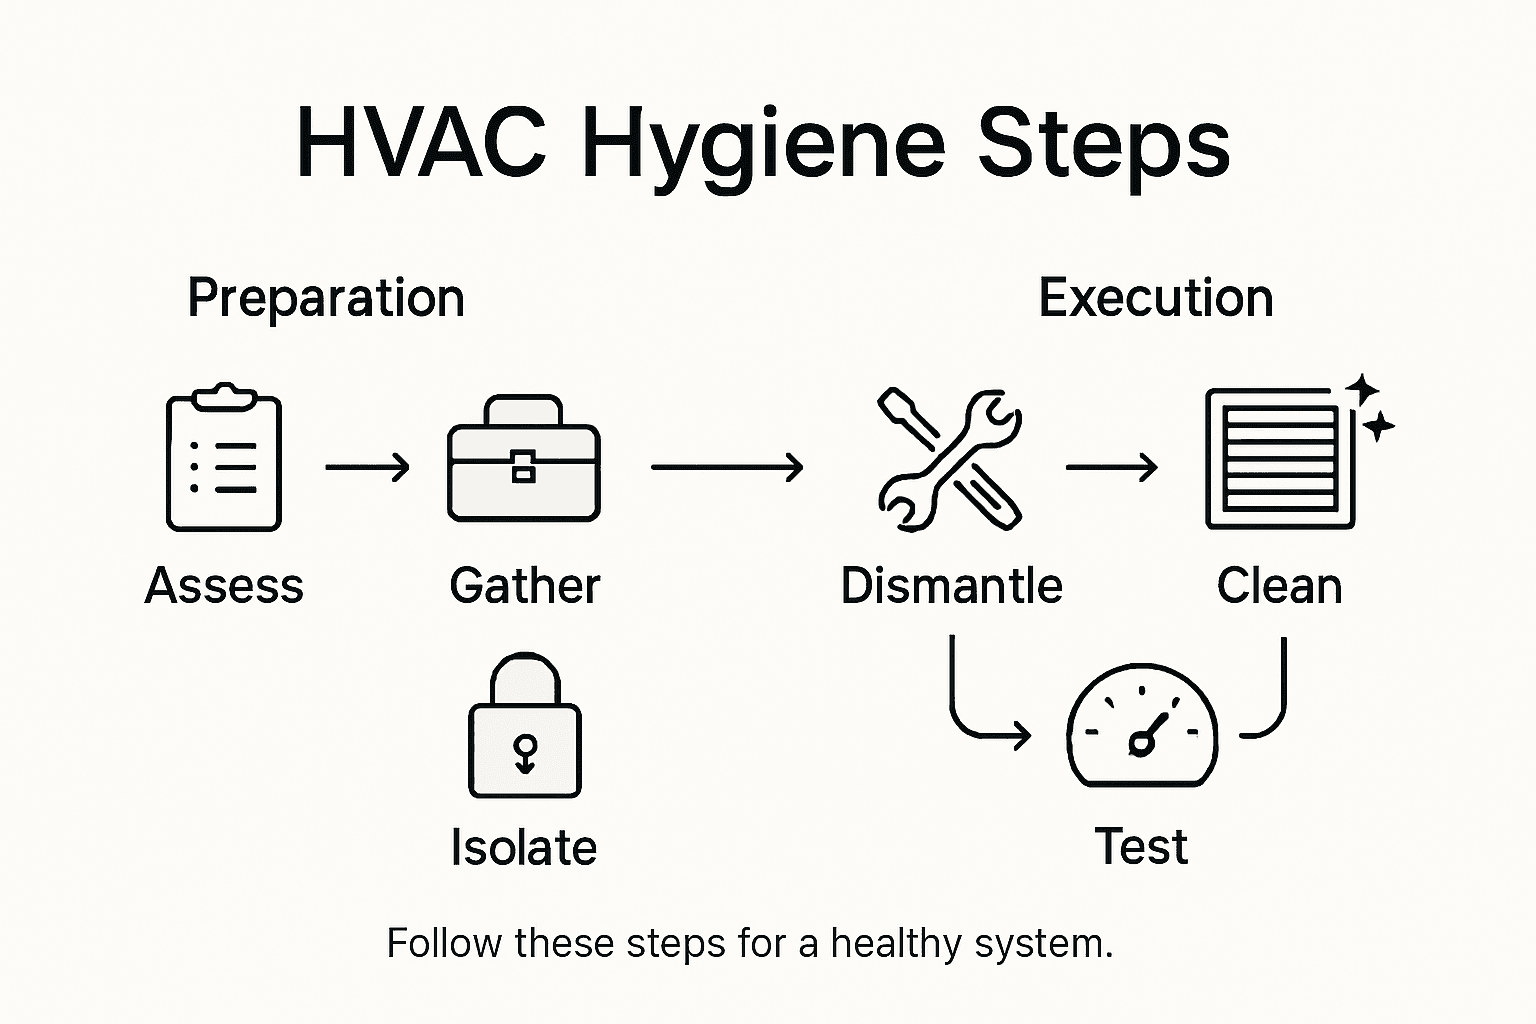
- 3 Step 1: Assess HVAC System and Gather Supplies
- 4 Step 2: Isolate Power and Prepare Work Area
- 5 Step 3: Dismantle Key HVAC Components Carefully
- 6 Step 4: Clean and Disinfect HVAC Parts Thoroughly
- 7 Step 5: Reassemble System and Restore Power
- 8 Step 6: Verify Cleanliness and Test System Performance
- 9 Elevate Your HVAC Hygiene with Professional Expertise
- 10 Frequently Asked Questions
- 10.0.1 How do I assess my HVAC system before cleaning?
- 10.0.2 What safety measures should I take during the HVAC cleaning process?
- 10.0.3 What tools do I need for the HVAC hygiene process?
- 10.0.4 How can I effectively clean and disinfect HVAC components?
- 10.0.5 What steps should I follow when reassembling my HVAC system?
- 10.0.6 How can I verify that my HVAC system is functioning properly after cleaning?
- 11 Recommended
- Step 1: Assess HVAC System And Gather Supplies
- Step 2: Isolate Power And Prepare Work Area
- Step 3: Dismantle Key HVAC Components Carefully
- Step 4: Clean And Disinfect HVAC Parts Thoroughly
- Step 5: Reassemble System And Restore Power
- Step 6: Verify Cleanliness And Test System Performance
Quick Summary
| Key Insight | Explanation |
|---|---|
| 1. Conduct a thorough system assessment | Perform a comprehensive visual inspection to identify dirt, mold, or damage before cleaning your HVAC system. |
| 2. Gather essential cleaning supplies | Use protective gear and tools like a HEPA vacuum to ensure safe and effective cleaning of your HVAC components. |
| 3. Isolate power for safety | Completely disconnect electrical power to the HVAC system to prevent hazards during maintenance activities. |
| 4. Document component assembly | Take photographs of components before dismantling to ensure accurate reassembly and prevent confusion. |
| 5. Verify system performance post-cleaning | After maintenance, monitor airflow and operation to confirm the system is functioning efficiently and effectively. |
Step 1: Assess HVAC System and Gather Supplies
Before diving into the HVAC cleaning process, you will need a systematic approach to evaluating your system and preparing the right tools. Your initial assessment determines the complexity of cleaning required and helps prevent potential damage during maintenance.
Start by performing a comprehensive visual inspection of your entire HVAC system. Look for visible signs of dirt accumulation, mold growth, dust buildup, or potential damage in key components like air ducts, filters, and vents. EPA guidelines recommend thorough inspections to identify significant contaminant accumulations that might necessitate professional cleaning.
Gather the necessary supplies for a thorough HVAC hygiene process. You will need protective gear such as safety goggles, disposable gloves, and a dust mask. Essential cleaning tools include a HEPA filter vacuum cleaner, soft brushes, microfiber cloths, compressed air canisters, and appropriate cleaning solutions. The EPA advises using HEPA filter-equipped vacuum cleaners for effectively removing loose soil and debris from your HVAC system.
Here’s a summary of essential HVAC cleaning supplies and their functions:
| Supply Item | Purpose | Business Impact |
|---|---|---|
| HEPA vacuum cleaner | Removes dust and small debris | Ensures thorough contaminant removal |
| Safety goggles & gloves | Protects against debris and chemicals | Reduces risk of personal injury |
| Microfiber cloths | Wipes down sensitive components | Prevents scratching and residue |
| Compressed air canisters | Dislodges dirt from hard-to-reach areas | Improves overall cleaning efficiency |
| Cleaning solutions | Disinfects and removes contaminants | Reduces microbial and mold presence |
Pro tip: Before starting the cleaning process, photograph your system components. These reference images can help you remember the original configuration and ensure everything is reassembled correctly after maintenance.
Step 2: Isolate Power and Prepare Work Area
Safety is paramount when preparing for HVAC system maintenance. This critical step involves completely disconnecting electrical power and creating a clean organized workspace that minimizes potential risks during the cleaning process.
EPA safety protocols recommend thoroughly shutting down the HVAC system before beginning any maintenance work. Locate your home or building’s main electrical panel and switch off the circuit breaker corresponding to your HVAC system. This ensures zero electrical current running through the system during your cleaning procedure. For additional safety, use a voltage tester to confirm no electricity is present at the system’s main connection points.
Next, prepare your work area by removing furniture and obstacles near the HVAC units and vents. Lay down protective drop cloths or plastic sheeting to catch debris and protect flooring surfaces. The EPA suggests sealing off supply and return registers during maintenance to prevent dust from spreading throughout your living space. Use painter’s tape and plastic sheeting to create an effective barrier around each vent and register.
Pro tip: Take a photo of your electrical panel and circuit breaker configuration before switching anything off. This provides a handy reference for correct reconnection and helps document your maintenance process.
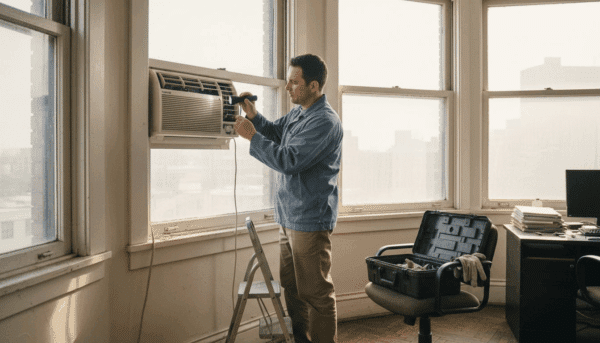
Step 3: Dismantle Key HVAC Components Carefully
Carefulness and methodical approach are essential when dismantling HVAC system components. This step requires precision to ensure you can thoroughly clean each part without causing damage or compromising system functionality.
EPA guidelines emphasize inspecting HVAC components for cleanliness and mechanical condition before initiating any cleaning process. Begin by documenting the current configuration of your system with detailed photographs. Carefully remove access panels and covers using appropriate screwdrivers or specialized HVAC tools. Pay close attention to how components are connected and arranged to facilitate accurate reassembly later.
Start with easily removable parts like air filters, vent covers, and drain pans. Gently extract each component, placing them on your prepared clean workspace. For more complex systems, carefully disconnect electrical connections and mechanical linkages. Industry standards from NADCA recommend systematic component removal to prevent potential system damage and ensure comprehensive cleaning. Label each removed part with its original location to simplify reassembly and prevent confusion during the cleaning process.
Pro tip: Create a small workspace diagram or take numbered photographs of each component as you remove it. This visual reference will be invaluable when reassembling your HVAC system and ensuring every part returns to its precise original location.
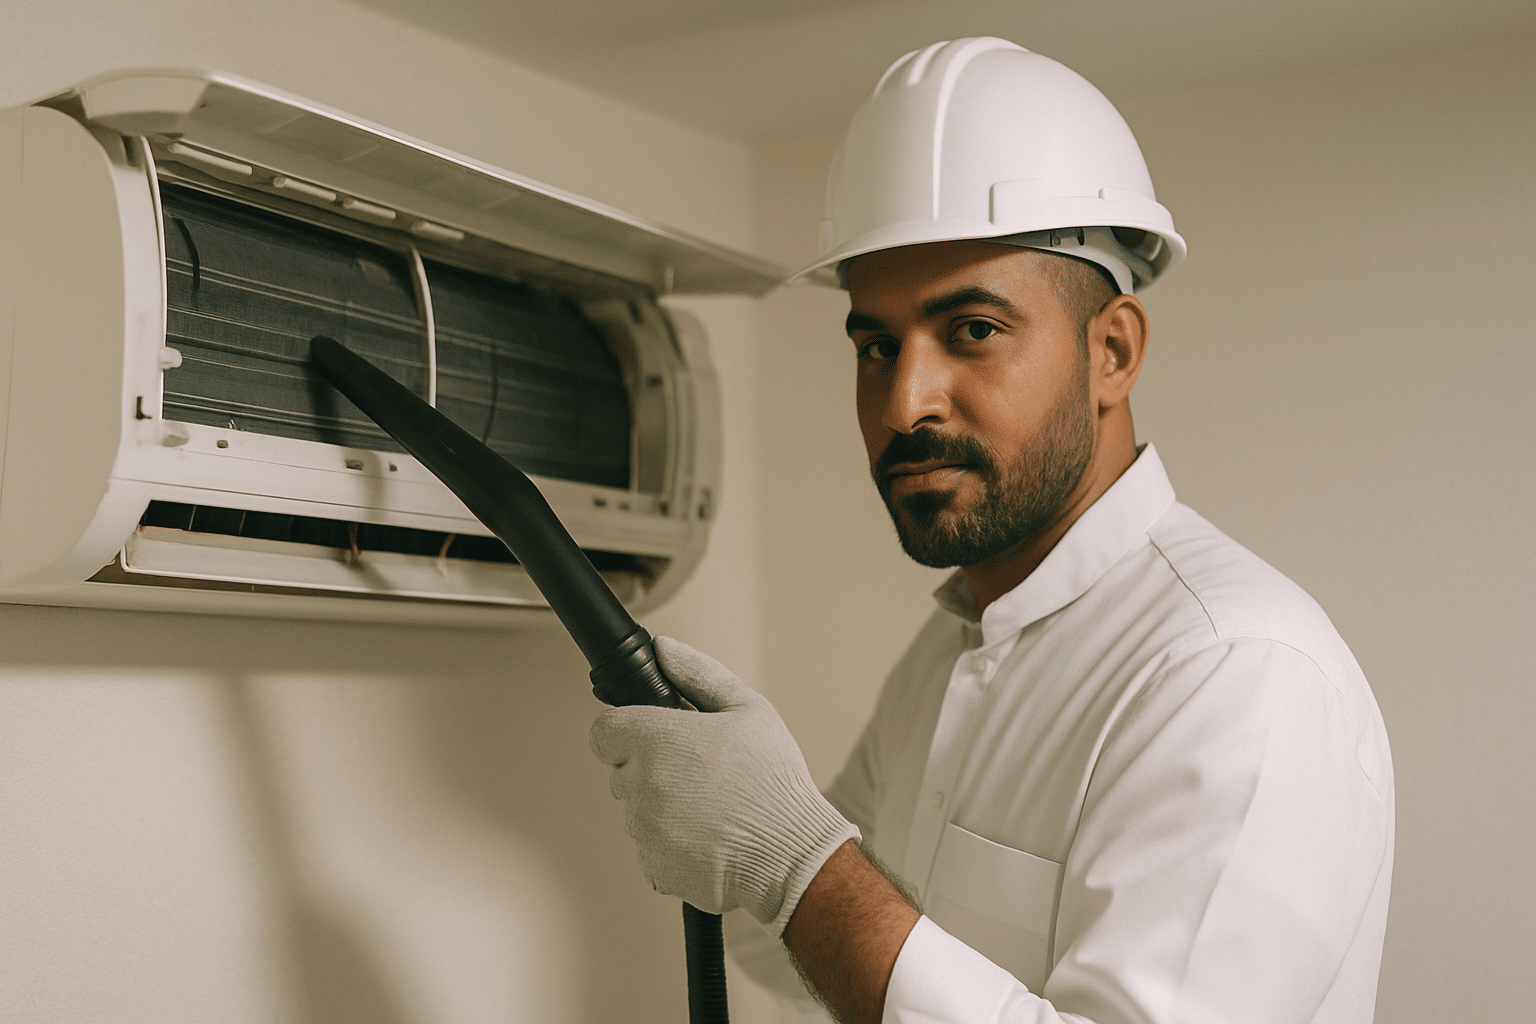
Step 4: Clean and Disinfect HVAC Parts Thoroughly
Thoroughly cleaning and disinfecting HVAC components is crucial for maintaining optimal indoor air quality and system performance. This step requires careful attention to detail and the right cleaning techniques to remove contaminants without causing damage to delicate system parts.
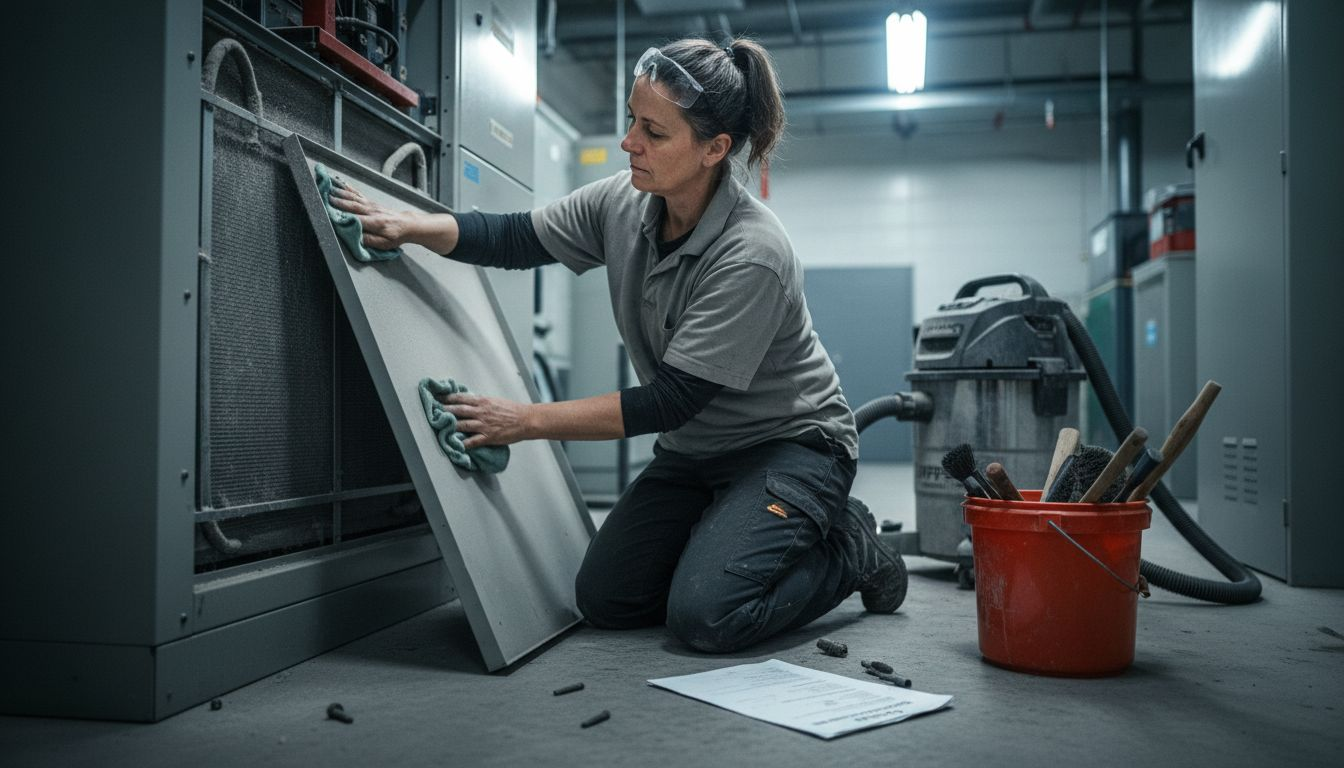
EPA recommendations emphasize using HEPA filter-equipped vacuum cleaners to remove loose soil and debris from your HVAC system. Start by using the vacuum with soft brush attachments to gently remove dust and particles from each component. Focus on air filters, vent covers, drain pans, and coils. Use specialized cleaning solutions designed for HVAC systems that can effectively eliminate microbial growth without corroding metal surfaces or damaging sensitive equipment.
Progress methodically through each component. For drain pans and condensate lines, use antimicrobial solutions to prevent mold and bacterial growth. Professional AC cleaning techniques recommend a comprehensive disinfection approach that targets potential biofilm and microbial colonies. Pay special attention to areas prone to moisture accumulation. Wipe down all surfaces with microfiber cloths to ensure thorough cleaning without leaving residue. Rinse components with appropriate cleaning solutions and allow them to air dry completely before reassembly.
Below is a comparison of common HVAC contaminants and recommended cleaning approaches:
| Contaminant | Detection Method | Cleaning Approach |
|---|---|---|
| Dust buildup | Visual inspection | HEPA vacuum and microfiber wipe |
| Mold growth | Spot/odor detection | EPA-approved antimicrobial solution |
| Debris/blockage | Reduced airflow/noise | Brushing and vacuuming |
| Biofilm | Moist/gel-like residue | Specialized HVAC disinfectant |
Pro tip: Wear protective gloves and a mask during the cleaning process to protect yourself from dust and cleaning chemical exposure. Ensure your workspace is well ventilated to minimize inhalation of cleaning agents and airborne particles.
Step 5: Reassemble System and Restore Power
Reassembling your HVAC system requires precision and careful attention to detail. This critical step ensures your system returns to optimal functioning condition after thorough cleaning and maintenance.
EPA guidelines stress the importance of verifying component mechanical condition before final reassembly. Begin by carefully referencing your earlier documentation and photographs to ensure each component returns to its exact original location. Systematically reconnect electrical connections and mechanical linkages using the same tools you initially used for disassembly. Check that all connections are secure and properly aligned.
After confirming all components are correctly positioned, inspect the system according to industry standards to verify mechanical integrity. Gradually restore power by first switching on the circuit breaker and then activating the system controls. Listen carefully for any unusual sounds and observe the system startup process. Allow the system to run for several minutes to ensure smooth operation and confirm that all components are functioning correctly.
Pro tip: Create a brief maintenance log documenting the cleaning process, noting any observations or potential issues discovered during reassembly. This documentation can help track your HVAC system’s health and provide valuable insights for future maintenance efforts.
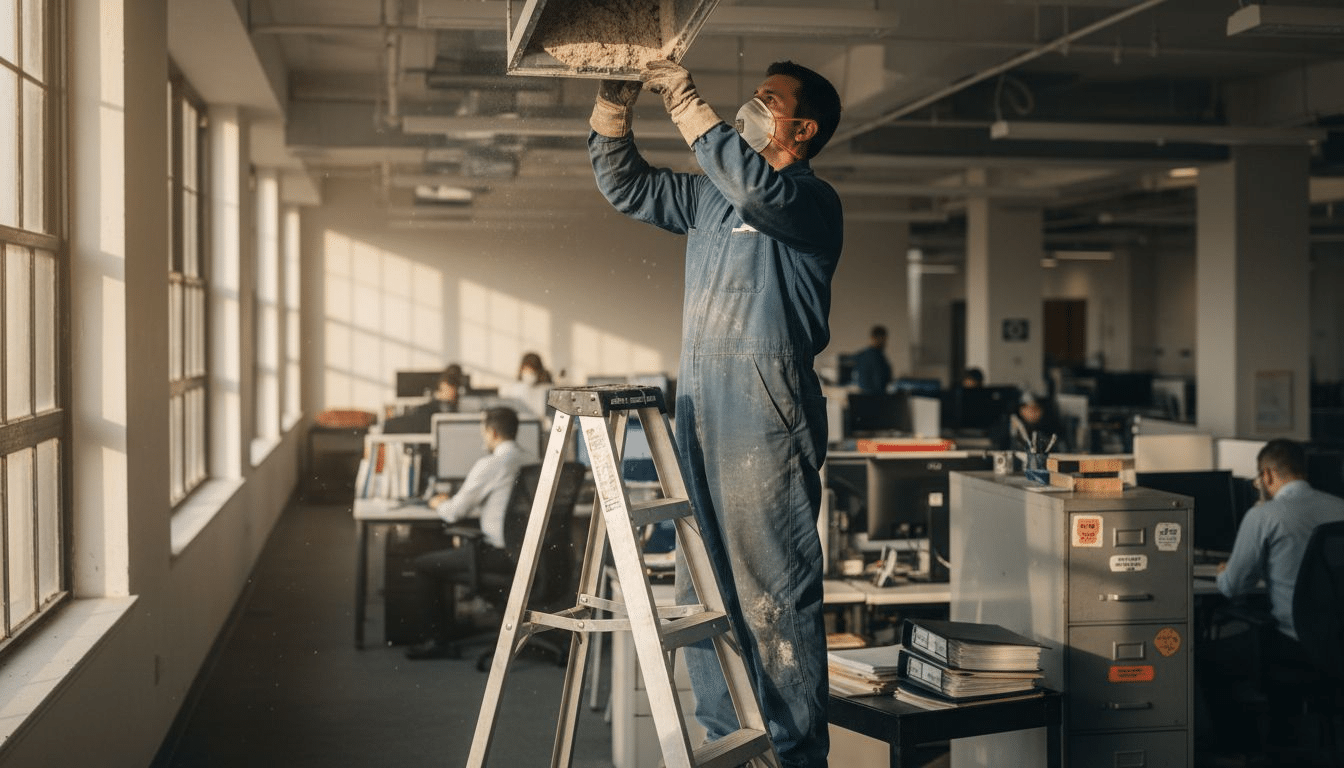
Step 6: Verify Cleanliness and Test System Performance
After completing the comprehensive HVAC cleaning process, this final stage focuses on confirming the effectiveness of your maintenance work and ensuring optimal system performance. A meticulous verification process helps guarantee the quality of your cleaning efforts and identifies any potential issues.
EPA guidelines recommend establishing a preventive maintenance program to minimize future contamination and maintain system efficiency. Begin by visually inspecting all cleaned components for any remaining debris or missed spots. Run the system and carefully observe its performance checking for consistent airflow, unusual noises, and temperature regulation. Pay special attention to air registers and return vents to ensure they are clean and unobstructed.
Carefully monitor the system during the first 24 hours of operation. Check for proper air circulation, listen for any strange sounds that might indicate mechanical issues, and verify that air filters are seated correctly. Systematic post-cleaning inspection helps identify potential performance problems early and ensures your HVAC system operates at peak efficiency. Use a temperature gauge to confirm consistent cooling or heating performance across different zones of your space.
Pro tip: Take before and after photographs of your HVAC components. These visual records can help you track system cleanliness over time and serve as valuable documentation for future maintenance efforts.
Elevate Your HVAC Hygiene with Professional Expertise
Maintaining a pristine HVAC system is essential for healthy indoor air quality and efficient performance. The detailed step-by-step cleaning guide highlights key challenges such as eliminating mold growth, dust buildup, and biofilm contamination that DIY methods often cannot fully address. Avoid the risks of incomplete disinfection or accidental system damage by trusting industry-certified professionals who bring scientific precision to every cleaning.
Discover how Saniservice’s NADCA-certified technicians expertly dismantle and disinfect each AC component using hospital-grade biosanitisers proven to eliminate harmful microbes. Benefit now from our evidence-based approach backed by an in-house microbiology laboratory and unmatched Swiss-quality service standards. Take the next step to secure safer air and longer HVAC lifespan by exploring comprehensive solutions on our AC Cleaning & Maintenance page. See how science meets sustainability in real projects via our Case Studies – Saniservice AC Cleaning. Ready for a healthier environment today Visit Saniservice to schedule your expert HVAC hygiene service.
Frequently Asked Questions
How do I assess my HVAC system before cleaning?
To assess your HVAC system, perform a comprehensive visual inspection. Look for dirt buildup, mold growth, and damage in air ducts, filters, and vents, then gather the necessary cleaning supplies to prepare for cleaning.
What safety measures should I take during the HVAC cleaning process?
Prior to starting, isolate the power by switching off the circuit breaker that controls the HVAC system. Additionally, prepare the workspace by removing obstacles and sealing off vents to contain debris during cleaning.
What tools do I need for the HVAC hygiene process?
Essential tools include a HEPA vacuum cleaner, soft brushes, microfiber cloths, and appropriate cleaning solutions. Gather protective gear such as safety goggles, gloves, and a dust mask to keep yourself safe during the cleaning process.
How can I effectively clean and disinfect HVAC components?
Use a HEPA vacuum equipped with soft brush attachments to remove dust and debris. Follow this by applying antimicrobial cleaning solutions to all components, focusing on areas prone to moisture accumulation to prevent mold growth.
What steps should I follow when reassembling my HVAC system?
When reassembling your HVAC system, carefully reference your earlier documentation and photographs to ensure accurate placement of each component. Secure all electrical connections and verify that everything is correctly aligned before restoring power.
How can I verify that my HVAC system is functioning properly after cleaning?
After cleaning, run the HVAC system and monitor its performance for consistent airflow and unusual sounds. Inspect the air registers and vents to ensure cleanliness and unobstructed airflow, checking for proper operation over the first 24 hours.
Recommended
- 7 Essential Steps for Your HVAC Hygiene Checklist
- AC Coil Cleaning Step by Step for Healthier Homes – Saniservice AC Cleaning
- AC Maintenance Step by Step Guide for Cleaner Indoor Air
- HVAC Cleaning Process 2025: Step-By-Step Guide for Healthier Air – Saniservice AC Cleaning
- 7 Practical Examples of Deep Cleaning for Busy Maltese Homes | Rozie – Malta’s Best Cleaning Services