
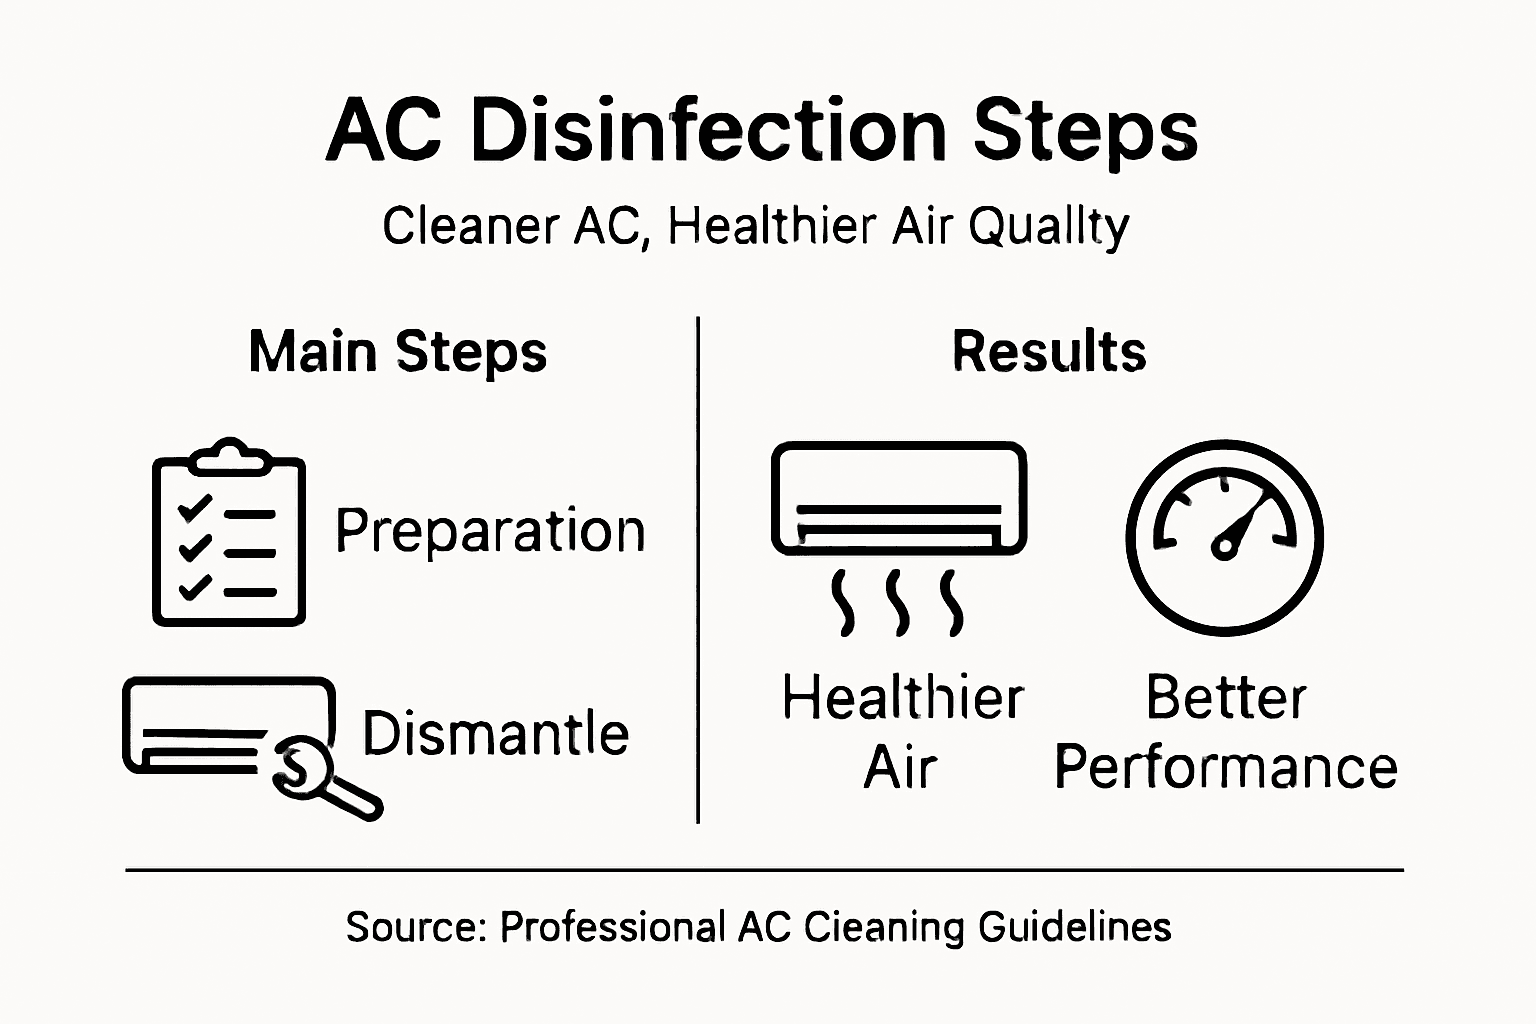
Step by Step AC Disinfection for Healthier Air Quality
Luxury housing in Dubai demands more than pristine surfaces and stylish interiors. Step by step ac disinfection on Property managers and villa owners face the ongoing challenge of keeping indoor air genuinely clean and healthy. Boosting air conditioning system disinfection is not only about comfort but about protecting your residents from hidden microbial threats while achieving compliance with local health standards. Learn how thorough AC disinfection preparation leads to safer air, more reliable systems, and peace of mind for every occupant.
Table of Contents
Contents
- 1 Table of Contents
- 2 Quick Summary
- 3 Step 1: Prepare AC System for Thorough Disinfection
- 4 Step 2: Dismantle Key Components for Deep Cleaning
- 5 Step 3: Apply Biosanitiser to Eliminate Contaminants
- 6 Step 4: Reassemble and Inspect for Complete Safety
- 7 Step 5: Verify Disinfection Success with Final Testing
- 8 Take Control of Your Indoor Air Quality with Expert AC Disinfection
- 9 Frequently Asked Questions
- 9.0.1 How do I prepare my AC system for disinfection?
- 9.0.2 What are the key components to dismantle during AC cleaning?
- 9.0.3 How do I apply biosanitiser effectively to my AC system?
- 9.0.4 What should I check during the reassembly of my AC system?
- 9.0.5 How can I confirm the effectiveness of the AC disinfection process?
- 10 Recommended
- Step 1: Prepare AC System for Thorough Disinfection
- Step 2: Dismantle Key Components for Deep Cleaning
- Step 3: Apply Biosanitiser to Eliminate Contaminants
- Step 4: Reassemble and Inspect for Complete Safety
- Step 5: Verify Disinfection Success with Final Testing
Quick Summary
| Key Point | Explanation |
|---|---|
| 1. Thorough Preparation is Essential | Properly prepare the AC system before cleaning to ensure effective microbial elimination and safer indoor air quality. |
| 2. Systematic Dismantling Increases Effectiveness | Disassemble key components methodically to gain full access for thorough cleaning and avoid damage during the process. |
| 3. Use a Quality Biosanitiser for Disinfection | A professional-grade biosanitiser is necessary; it should completely cover all components to effectively kill harmful microorganisms. |
| 4. Careful Reassembly Ensures Integrity | Follow a systematic approach when reassembling; checking connections and ensuring components are correctly placed maintain system performance. |
| 5. Verify Success with Thorough Testing | Conduct final testing to confirm effective disinfection and document results; this step verifies improvements in indoor air quality. |
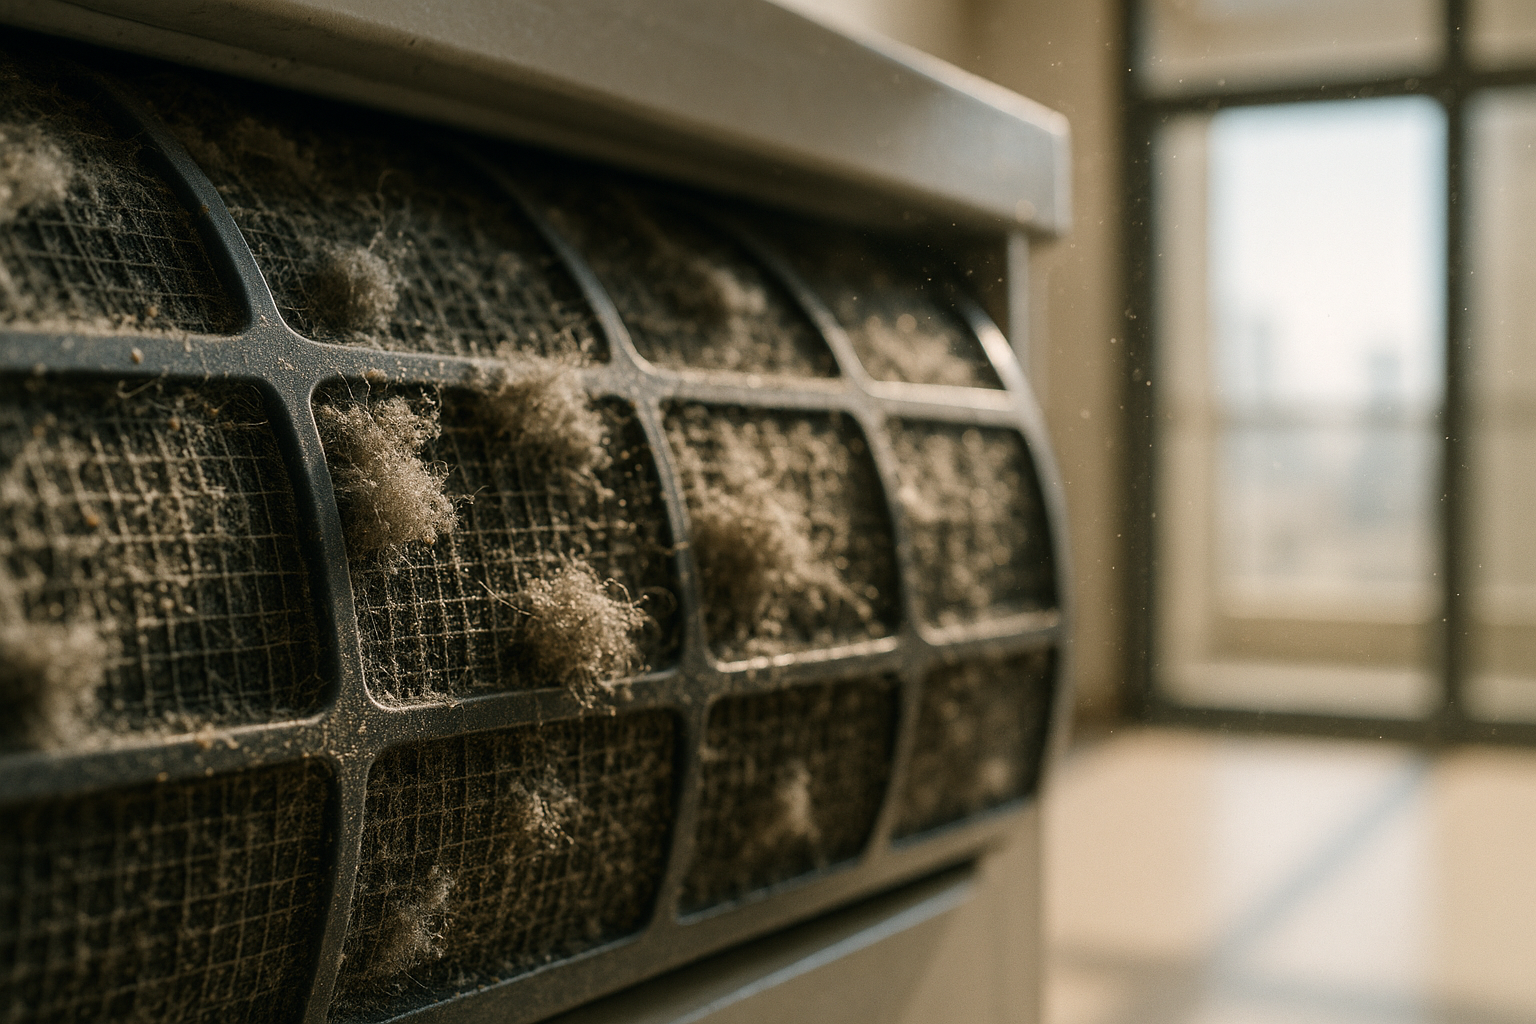
Step 1: Prepare AC System for Thorough Disinfection
Before initiating the disinfection process, a comprehensive system preparation is crucial for achieving optimal air quality results. This initial stage sets the foundation for an effective and thorough AC cleaning procedure that eliminates harmful microorganisms and ensures healthier indoor environments.
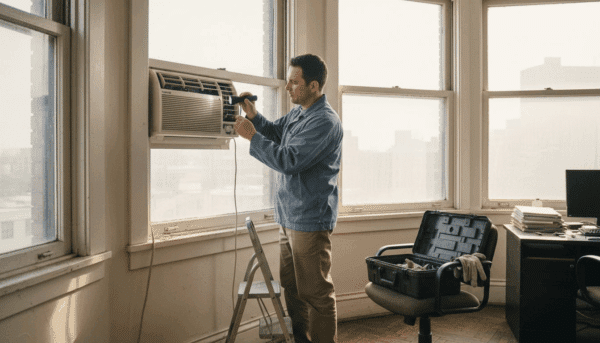
Preparing your AC system involves several critical steps designed to maximize disinfection effectiveness. Start by completely shutting down the air conditioning unit and disconnecting power to prevent any electrical hazards. Remove external covers and access panels carefully, creating clear pathways for thorough inspection and cleaning. Use protective gloves and safety glasses during this process to protect yourself from potential contaminants.
Key preparation actions include:
- Inspect system components for visible dust, debris, and potential mold growth
- Remove filters and set aside for separate cleaning or replacement
- Document the system’s current condition through photographs for reference
- Clear workspace around the AC unit to facilitate unobstructed access
Understanding critical disinfection protocols requires recognizing that pre-cleaning is essential for effective sanitization. Removing organic materials like dust and grime ensures that subsequent disinfection processes can penetrate and eliminate microbial contaminants more efficiently.
Thorough preparation dramatically increases the effectiveness of your AC disinfection process and contributes to creating a healthier indoor environment.
Pro tip: Always photograph AC components before disassembly to ensure accurate reassembly and maintain system integrity.
Step 2: Dismantle Key Components for Deep Cleaning
Disassembling your AC system’s key components is a critical phase in achieving comprehensive cleaning and maintaining optimal indoor air quality. This meticulous process requires careful planning, precision, and a systematic approach to ensure every critical part receives thorough attention.
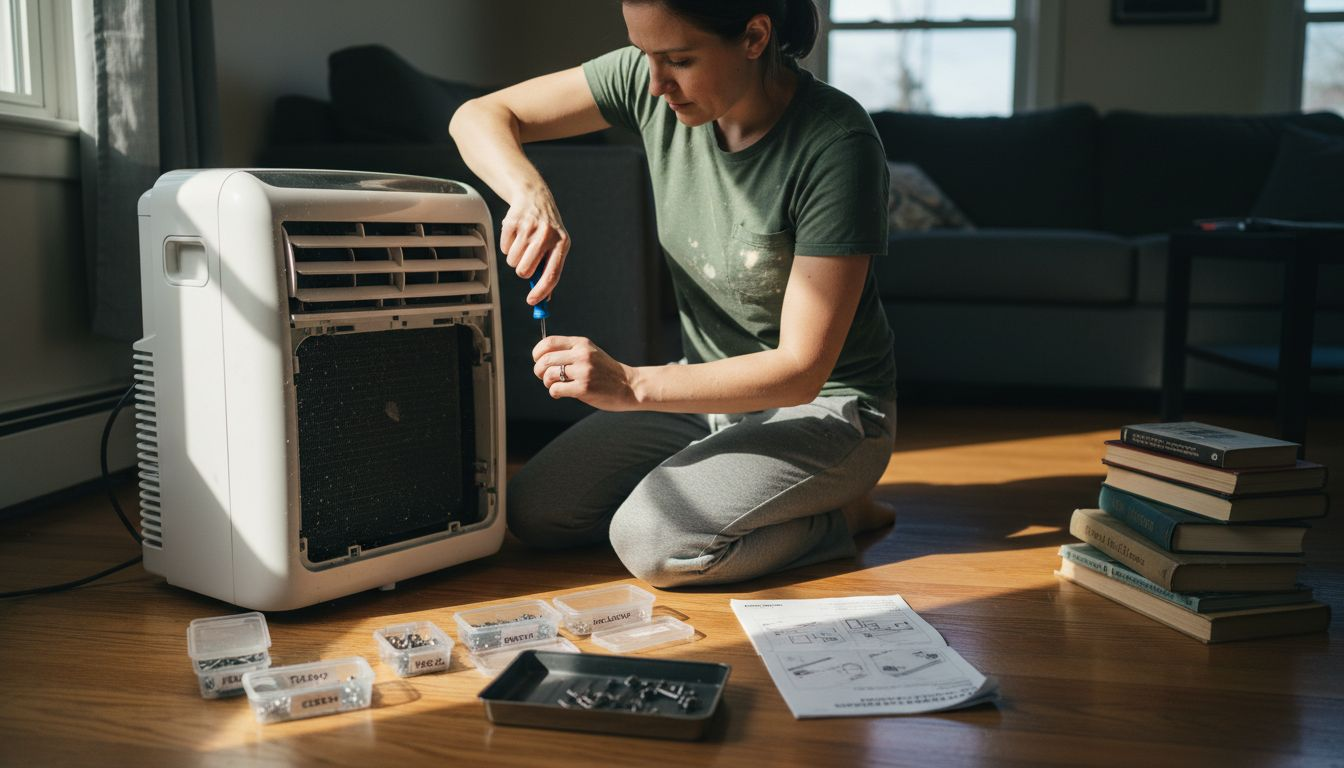
Understanding safe disassembly procedures involves creating a methodical workflow that protects both the equipment and the technician. Begin by organizing your workspace with clean, padded surfaces where you can place removed components. Have specialized tools ready and ensure you have clear documentation or photographs of the system’s original configuration to assist with reassembly.
Key components to systematically dismantle include:
- AC filters: Completely remove and set aside for separate cleaning
- External covers and panels: Carefully detach to expose internal mechanisms
- Fan assemblies: Gently disconnect and prepare for detailed cleaning
- Evaporator and condenser coils: Methodically remove for thorough inspection
- Drainage system components: Detach to clean out potential microbial buildup
Precision during dismantling directly impacts the effectiveness of subsequent deep cleaning processes and overall system performance.
Each component requires careful handling to prevent damage. Use appropriate screwdrivers, wrenches, and gentle techniques to avoid breaking delicate parts. Label each removed piece and keep components organized to simplify the reassembly process later.
Pro tip: Use magnetic trays or labeled containers to keep screws and small parts organized during the disassembly process.
Step 3: Apply Biosanitiser to Eliminate Contaminants
Applying a professional-grade biosanitiser is the critical phase where you transform your AC system from a potential breeding ground of harmful microorganisms into a clean, safe environment. This step requires precision, careful technique, and understanding of how targeted disinfection eliminates microscopic threats lurking within your air conditioning system.
Professional disinfection protocols demand a systematic approach to biosanitiser application. Begin by selecting a hospital-grade, chemical-free biosanitiser specifically designed for HVAC systems. Ensure complete coverage of all dismantled components, paying extra attention to areas prone to microbial growth such as coils, drainage systems, and internal surfaces.
Key application techniques include:
- Wear protective equipment like gloves and respiratory masks
- Test disinfectant compatibility with system materials before full application
- Apply biosanitiser using specialized spray equipment
- Maintain recommended contact time for maximum microbial elimination
- Ensure even and thorough coverage of all component surfaces
Effective biosanitiser application is not about volume, but about strategic, comprehensive coverage that targets microorganisms at their source.
For optimal results, use a systematic spraying technique that ensures complete saturation without oversaturating delicate components. Move methodically across each surface, maintaining consistent pressure and spray distance to guarantee uniform disinfection.
Pro tip: Always read the manufacturer’s instructions carefully and perform a small spot test to confirm the biosanitiser’s compatibility with your specific AC system materials.
Step 4: Reassemble and Inspect for Complete Safety
Reassembling your AC system is the final critical phase that transforms your meticulously cleaned components back into a fully functional, safe air conditioning unit. This step demands precision, systematic organization, and a comprehensive safety verification to ensure optimal performance and indoor air quality.
Ventilation system safety protocols require a methodical approach to reassembly and inspection. Start by carefully referencing the photographs or documentation you created during the disassembly process. Systematically replace each component, ensuring proper alignment, secure connections, and gentle handling to prevent any potential damage.
Key reassembly and inspection steps include:
- Verify electrical connections are secure and correctly positioned
- Check mechanical components for smooth, unobstructed movement
- Reinstall filters with precise orientation and proper sealing
- Inspect all sealed joints and connections for potential air leaks
- Test system functionality before final operational status
Successful reassembly is not just about putting parts back together, but about restoring the system’s integrity and ensuring peak performance.
Carefully tighten all fasteners to manufacturer specifications, avoiding over-tightening that could damage delicate components. Pay special attention to drainage systems, ensuring clear pathways for condensation and preventing potential water damage or microbial growth.
Pro tip: Keep a digital or physical logbook documenting each component’s condition during reassembly to track system health and maintenance history.
Step 5: Verify Disinfection Success with Final Testing
The final testing phase confirms the effectiveness of your AC disinfection process and ensures your system delivers truly clean, healthy air. This crucial verification step transforms your meticulous cleaning efforts into measurable indoor air quality improvements that protect your living or working environment.
Comprehensive HVAC performance testing involves multiple diagnostic procedures to validate system functionality and air purity. Utilize professional-grade testing equipment to measure microbial load, airflow efficiency, and overall system performance. Conduct visual inspections and consider laboratory air quality sampling to provide scientific validation of your disinfection efforts.
Key verification methods include:
- Measure air particle concentration using laser particle counters
- Test filter efficiency with specialized MERV rating assessment tools
- Check airflow volume and consistency across different system zones
- Sample surfaces for microbial presence using sterile swab techniques
- Evaluate system temperature and humidity control
Successful final testing transforms technical procedures into tangible health protection for your indoor environment.
Document all testing results comprehensively, creating a professional record that tracks your AC system’s performance and health status. This documentation serves as a valuable reference for future maintenance and demonstrates your commitment to maintaining optimal indoor air quality.
Pro tip: Schedule professional air quality testing annually to maintain consistent monitoring and early detection of potential air quality issues.
Compare core types of HVAC testing for disinfection validation:
| Test Type | What It Measures | Why It Matters |
|---|---|---|
| Particle Counting | Airborne particle levels | Detects dust and contaminants |
| Filter Efficiency | Filtration performance | Assesses removal of pollutants |
| Airflow Volume | Distribution consistency | Confirms balanced air delivery |
| Swab Sampling | Surface microbial load | Identifies remaining pathogens |
Here’s a summary of how each step in the AC disinfection process contributes to health and performance:
| Step | Main Goal | Health Impact | System Benefit |
|---|---|---|---|
| Preparation | Remove contaminants | Reduces exposure risk | Ensures effective cleaning |
| Dismantling | Access internal parts | Minimizes hidden microbes | Maximizes cleaning reach |
| Biosanitiser | Kill microorganisms | Improves air safety | Prevents microbial regrowth |
| Reassembly | Restore functionality | Maintains clean airflow | Ensures system reliability |
| Final Testing | Verify effectiveness | Confirms healthy air | Documents maintenance quality |
Take Control of Your Indoor Air Quality with Expert AC Disinfection
The detailed step-by-step AC disinfection process highlights the importance of meticulous preparation, precise dismantling, and the application of hospital-grade biosanitisers to eliminate harmful microorganisms from your system. If you are concerned about hidden dust, mold, or bacteria reducing the cleanliness of your indoor air, it is essential to trust professionals who follow scientific protocols and use evidence-based methods.
Saniservice offers comprehensive solutions tailored to these exact challenges. Our NADCA-certified technicians ensure every component of your AC is thoroughly cleaned and disinfected using chemical-free biosanitisers that target allergens and microbial threats effectively. With our in-house microbiology lab and a multidisciplinary Indoor Sciences team, we guarantee healthier air, system reliability, and enhanced energy efficiency for your home or commercial space.
Ready to experience the difference that expert AC cleaning can make? Explore our proven methods and real results in Case Studies – Saniservice AC Cleaning.
Act now to protect your indoor environment from microbial build-up and poor air quality. Visit AC Cleaning & Maintenance – Saniservice AC Cleaning and secure your service appointment today. Trusted across Dubai for scientific precision and lasting results, Saniservice is your partner for cleaner, healthier air. Learn more at Saniservice.
Frequently Asked Questions
How do I prepare my AC system for disinfection?
To prepare your AC system for disinfection, start by turning off the unit and disconnecting power to avoid electrical hazards. Remove the external covers and access panels, inspect the components for dust and mold, and document the system’s condition with photographs.
What are the key components to dismantle during AC cleaning?
Key components to dismantle include the AC filters, external covers, fan assemblies, evaporator and condenser coils, and drainage system components. Carefully detach these parts to ensure thorough cleaning and inspection of each element.
How do I apply biosanitiser effectively to my AC system?
To effectively apply biosanitiser, wear protective gear like gloves and a mask, and use specialized spray equipment to achieve even coverage. Ensure all dismantled components are fully saturated for maximum microbial elimination, paying special attention to areas prone to growth.
What should I check during the reassembly of my AC system?
During reassembly, verify that electrical connections are secure, check that mechanical components move smoothly, and ensure that filters are installed correctly. Inspect all sealed joints for air leaks before testing the system’s functionality.
How can I confirm the effectiveness of the AC disinfection process?
To confirm the effectiveness of your disinfection process, conduct final testing using methods like measuring airborne particle concentration and testing filter efficiency. Document the results to track your AC system’s performance and maintain optimal indoor air quality.